[FONT=Arial, Helvetica, sans-serif]How to polish your brake calipers - Ford Mustang[/FONT]
[FONT=Arial, Helvetica, sans-serif]
[/FONT]
[FONT=Arial, Helvetica, sans-serif]Tools Needed:[/FONT]
Drill (Electric preferred)
Dremel Rotary Tool
Dremel Sanding Bands (60 / 120)
511E EZ Lock Finishing Abrasive Buffs - 180 & 280 grit (2 Pack)
512E EZ Lock Finishing Abrasive Buffs 320 Grit (2 Pack)
Wire Brush and Wire Sander (Fine) w/ Shank
Sanding Block w/ various sand paper (180-420)
Cotton Buffing Wheel (Wide or Narrow)
Tripoli Compound
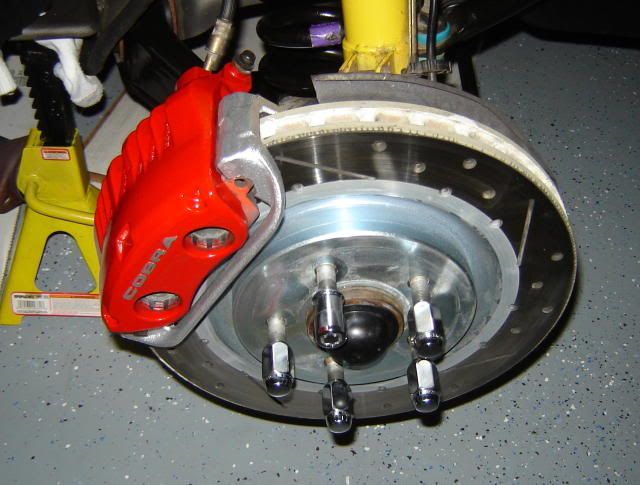
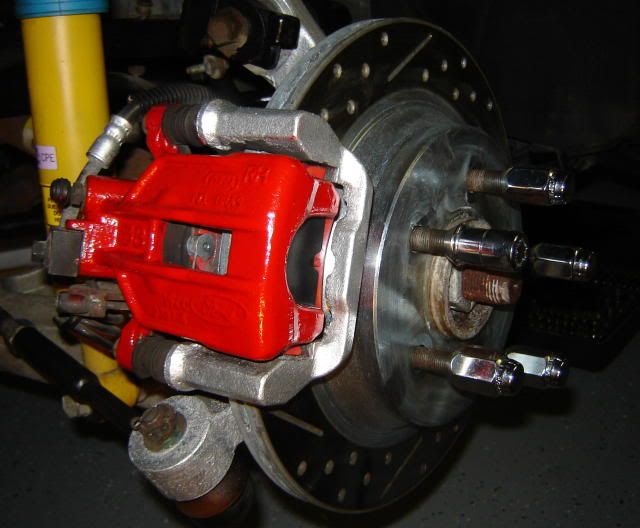
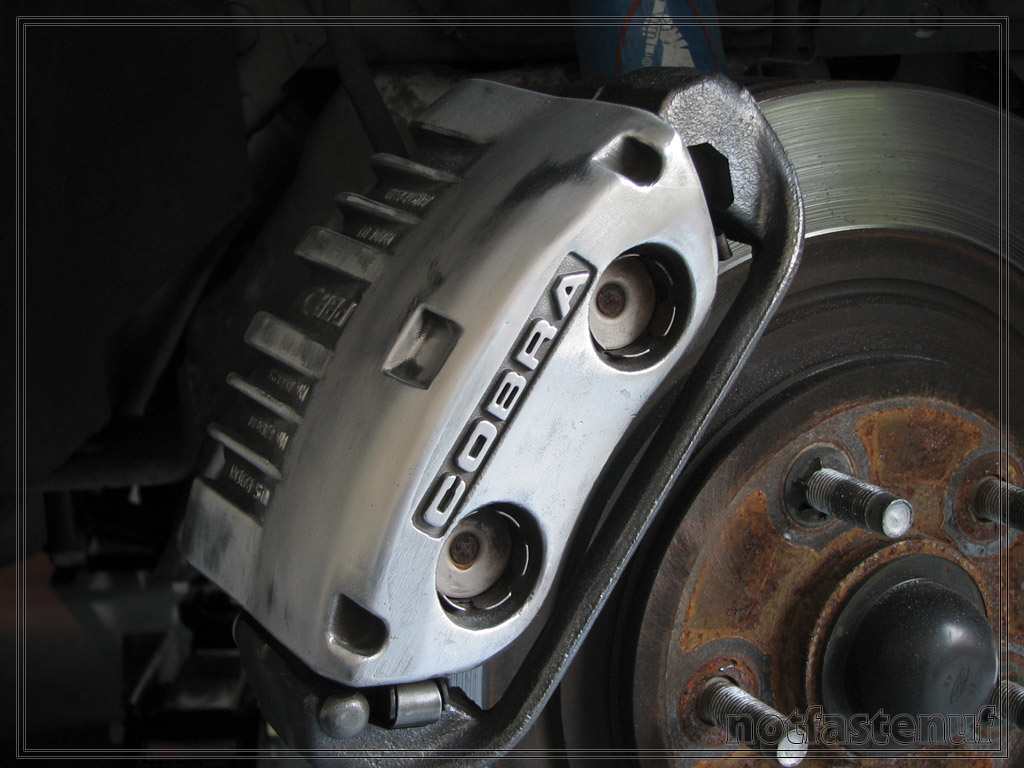
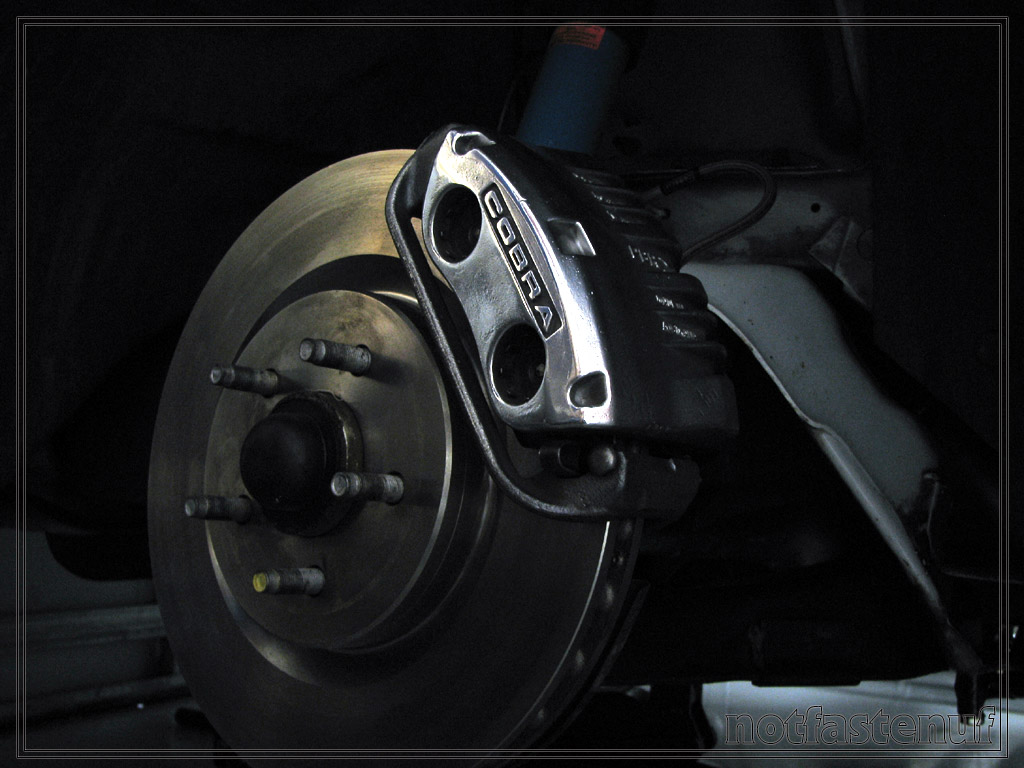
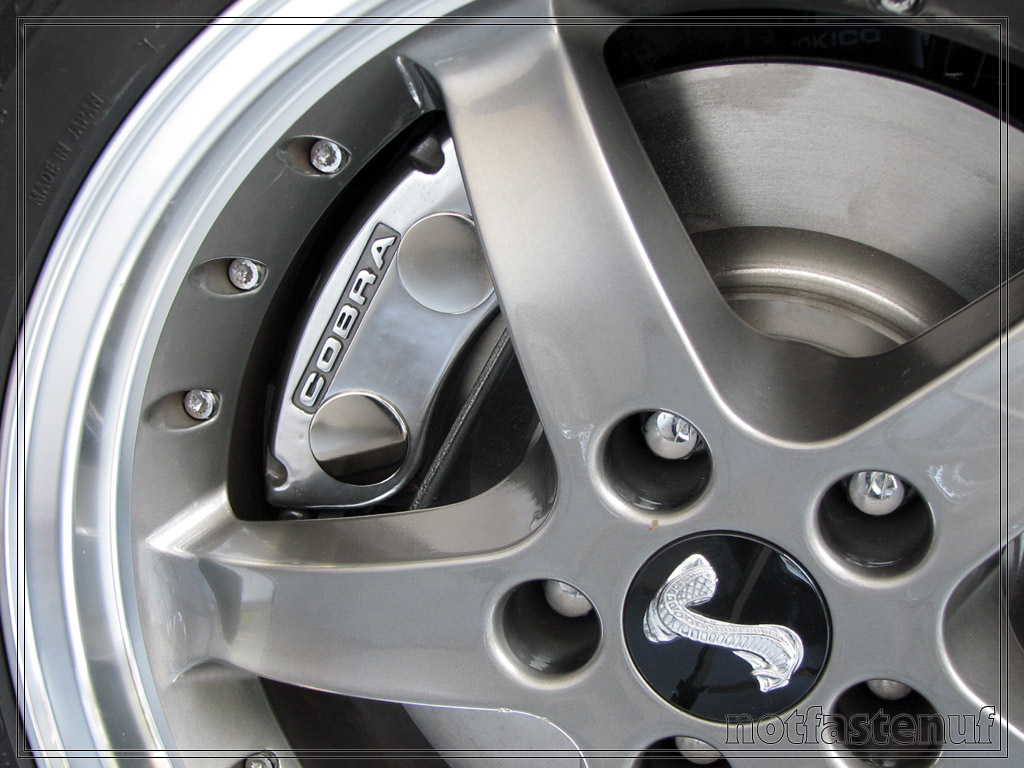
Mothers Metal Polish [/FONT][FONT=Arial, Helvetica, sans-serif]To begin with, I conducted all my necessary brake upgrades before polishing the calipers (except my first corner). Russell steel brake lines, Brembo blank rotors and Hawk HPS pads were installed prior. I tried doing the polishing while the caliper was off but didn't feel as stable as when it was bolted in.[/FONT]
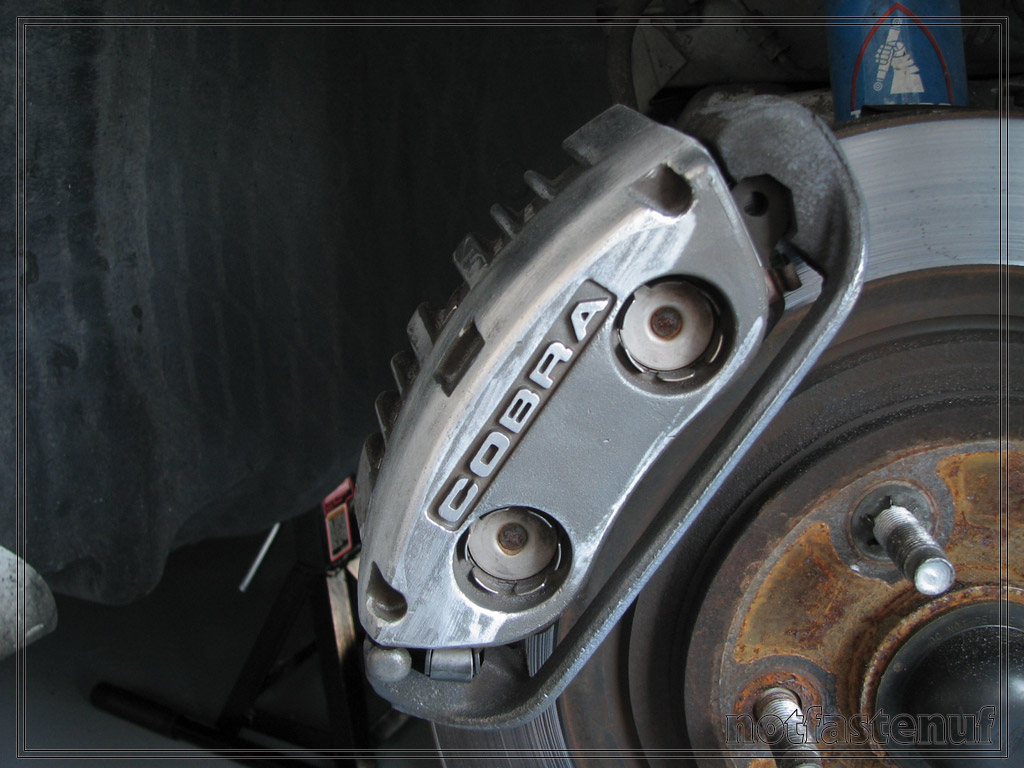
[FONT=Arial, Helvetica, sans-serif]Be sure to at least wipe the calipers off from road grime and/or grease. I did this prior to beginning the polishing process. I began using the wire wheel on the calipers to eliminate any remaining grime and dirt. Work back and forth slowly, but with some muscle.[/FONT]
[FONT=Arial, Helvetica, sans-serif]
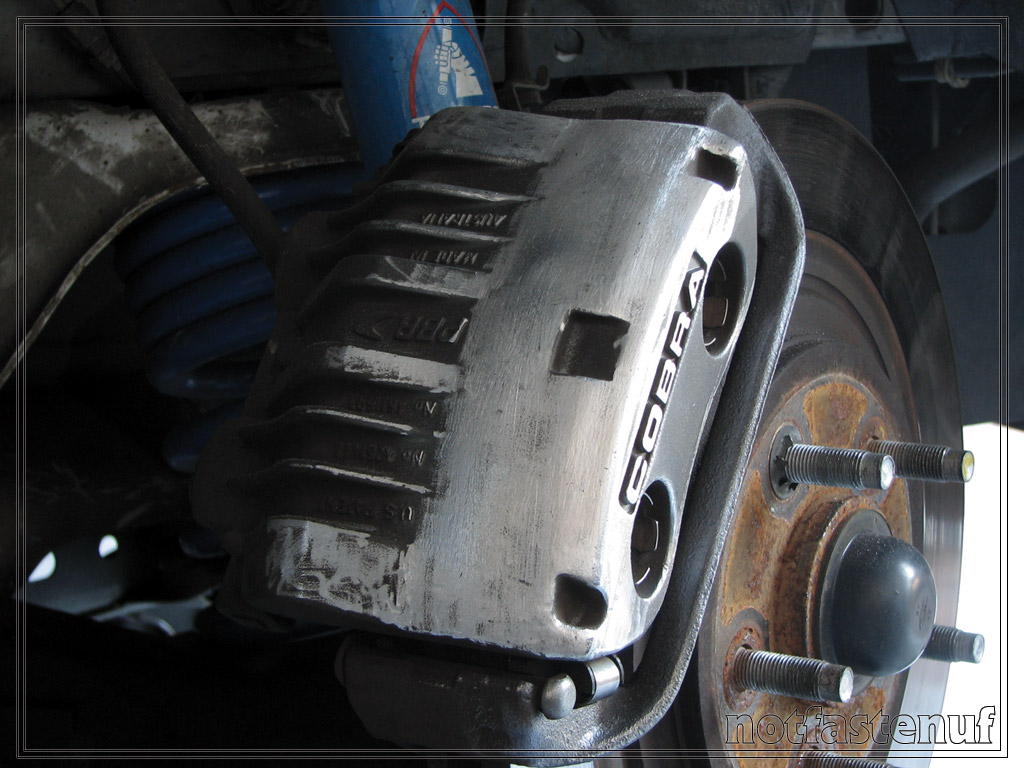
[FONT=Arial, Helvetica, sans-serif]Next, I used the Dremel with various abrasive sanding bands (60/120) to remove the casting finish. You can use a sanding block to supplement on this step but just keep in mind it will take longer. I used both, with the sanding block second. Any deep marks you make from lingering with the buffs will have to be sanded / buffed out smooth. I used the sanding block for the main final finish after the sanding bands because it's a larger area. There were several gouges on each of the four calipers that needed to be removed too.[/FONT]
[FONT=Arial, Helvetica, sans-serif]
[FONT=Arial, Helvetica, sans-serif]The next stage in the process is buffing the caliper down with the 180 grit buffing wheel or sanding block and working your way up to 280/320 range. You will really start to notice the difference with the color change and texture – taking your time on this stage is crucial in getting the caliper to feel smooth. Again, use the sanding block with a very fine grit paper - 320/400ish. When finished with this, wipe down with a dry towel to remove particles.[/FONT]
[FONT=Arial, Helvetica, sans-serif]
[FONT=Arial, Helvetica, sans-serif]Next, is the initial polishing with the tripoli compound. You will see here where the missed spots are that need to be re-sanded / ground down. They hold the tripoli and you will seen the uneven areas. I concentrated on the main face and top area of the caliiper. My first caliper took the most time because of trial and error on corrections.[/FONT]
[FONT=Arial, Helvetica, sans-serif]
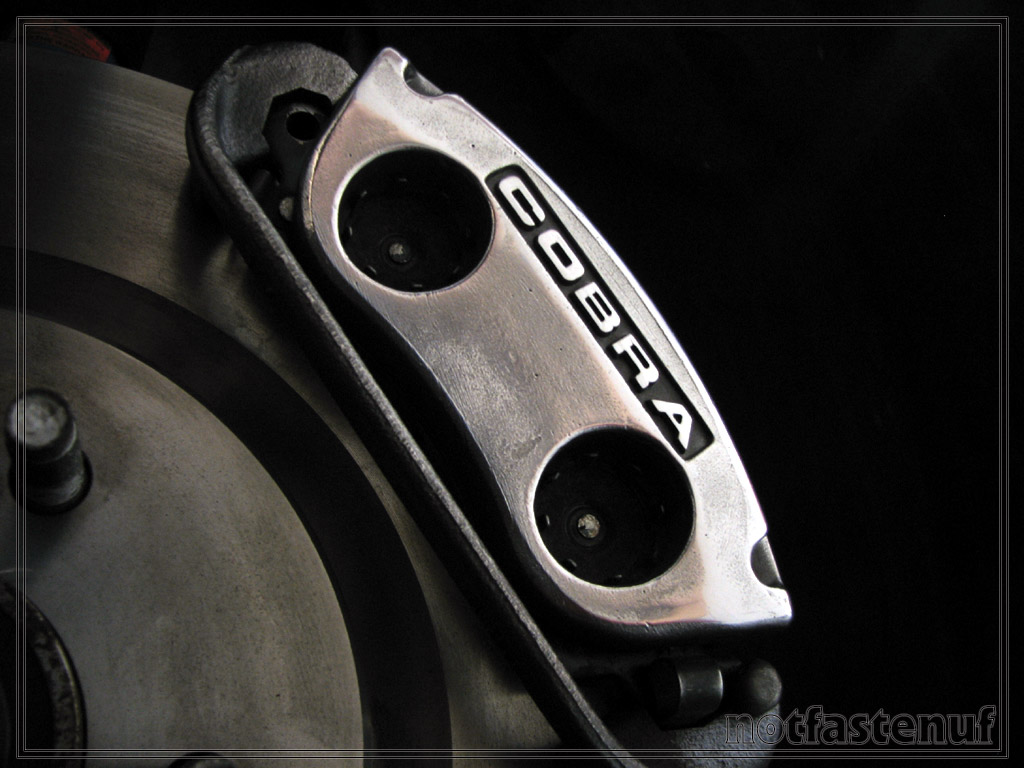
[FONT=Arial, Helvetica, sans-serif] See all the porous spots on the caliper...[/FONT]
[FONT=Arial, Helvetica, sans-serif]
[FONT=Arial, Helvetica, sans-serif]
[FONT=Arial, Helvetica, sans-serif]To get a high shine on the calipers, I used a wide cotton buffing wheel. At this point you will see why the previous stage is so important. There were several spots on each caliper that I had to go back over a few areas. If the areas were not completely flat they will trap the Tripoli compound and appeared dullish.[/FONT]
[FONT=Arial, Helvetica, sans-serif]
[FONT=Arial, Helvetica, sans-serif]Everything can be found at Home Depot and getting in there with some simple green while everything is torn up is not a bad idea either. Comments / Suggestions welcome.[/FONT]
[FONT=Arial, Helvetica, sans-serif]Write-up by: notfastenuf @ mustangworld.com[/FONT]