
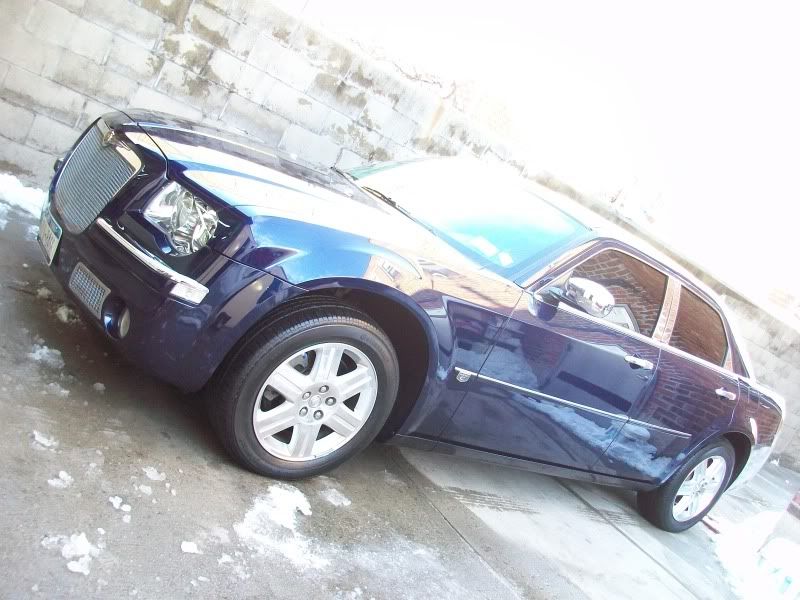
2006 dark blue chrysler 300C Hemi
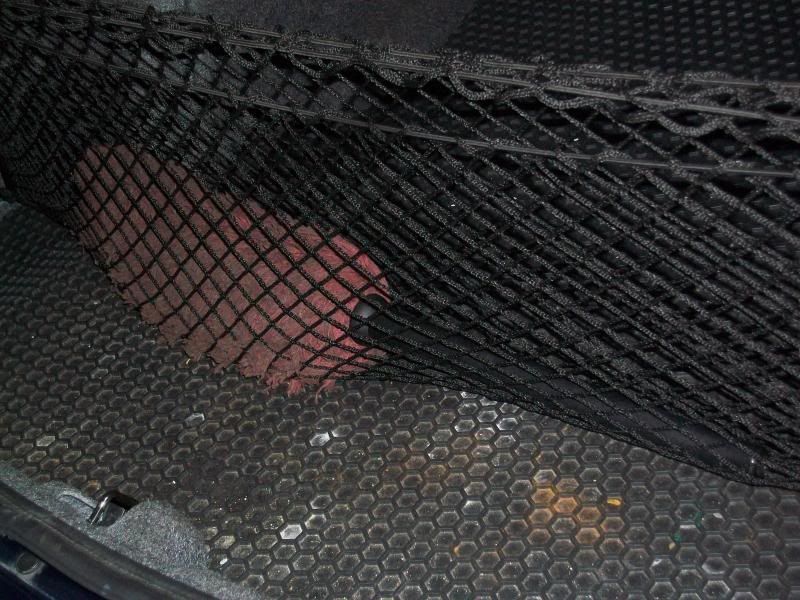
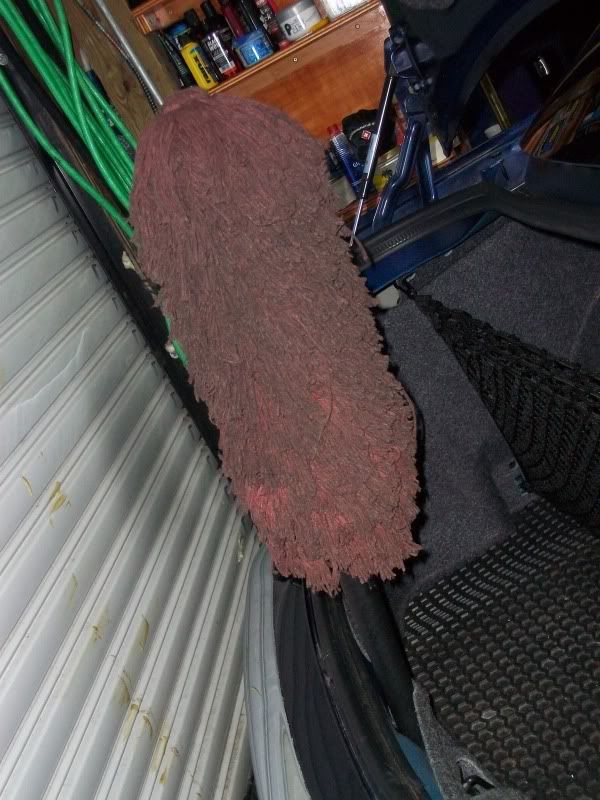
look what i found in the trunk! i was pissed!
i called the customer & told him to throw this out in the garbage!
products used:
Meguiars Mirror Glaze 105 Ultra-Cut Compound (M105)
6.5" & 4.0" yellow pads
Meguiars Mirror Glaze 205 Ultra Finishing Polish (M205)
6.5" & 4.0" blue pads
3M Perfect-It Ultarfine Machine Polish (3M UFMP)
6.5" & 4.0" blue pads
machine used:
Flex L 3403 mini rotary
protection:
Collinite 476S Super Double Coat Paste Wax
this was my first time trying out the Meguiars compound & polish. i was a stubborn mess & close minded when it came to trying out these new products. ive been using 3M compound & polish till i came across a tough black Audi S4 last week. the car was so bad the 3M compound just wasn't cutting the clear deep enough so i gave my friend phill a call & finally the Meguiars was ordered!
my only complaint with the Meguiars is the compound dries up hard like a rock. you shouldnt compound the car then leave it over night without cleaning up the splatter before going home! it seems to dust the same amount as the 3M compounds but it cuts deeeper & faster. if your good enough with the rotary wheel you can actually finish the M105 to a swirl free finish & then go straight to applying wax. the slower & longer i worked the product into the panel the better the reflection was in the clear coat. when i tried to pick up the pace of the compounding stage i was leaving light buffer trails & swirls behind. those trails & swirls are easily cleaned up with machine polishing but......working at a low rpm & with a slower pace made the polishing stage a lot easier. i didn't have any trails or swirls to remove with the polish. the polish kicked it up a notch & really glassed out the finish.
during compounding i never set the rotary any higher than 1000 rpms, i also polish at 1000 rpms.
it does take some time getting used to new products. after polishing half the hood, fender & drivers door with M205 i switched back to the 3M UFMP. i found the M205 a little difficult to work with. for me it seemed to create more dust than the 3M UFMP. i noticed when i would mist my pad with some water, it seemed to give the M205 a shorter work time before it dried up on the panel i was working on. 3M UFMP has a longer work time, creates less dust & makes less splatter.
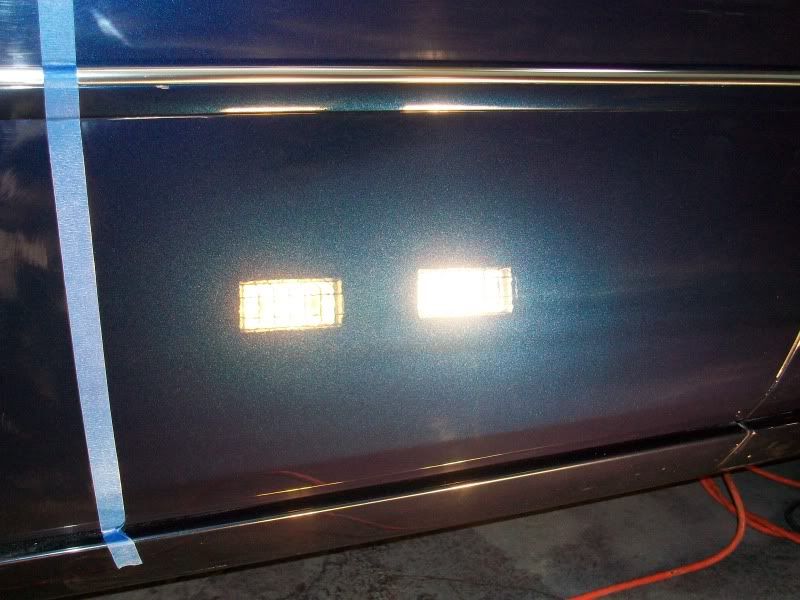
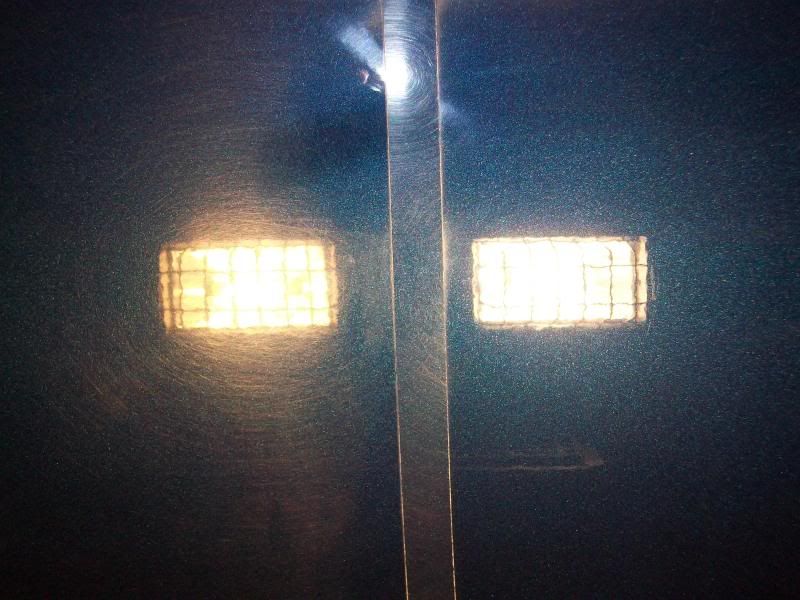
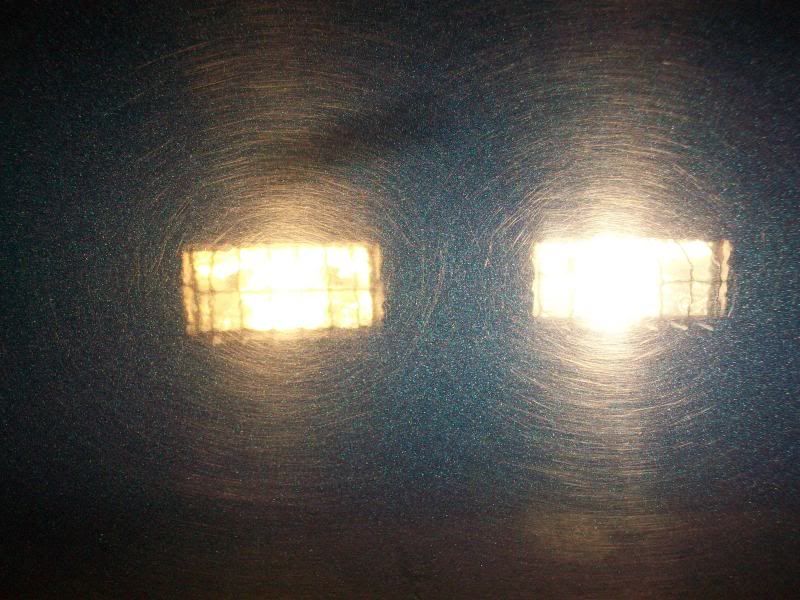
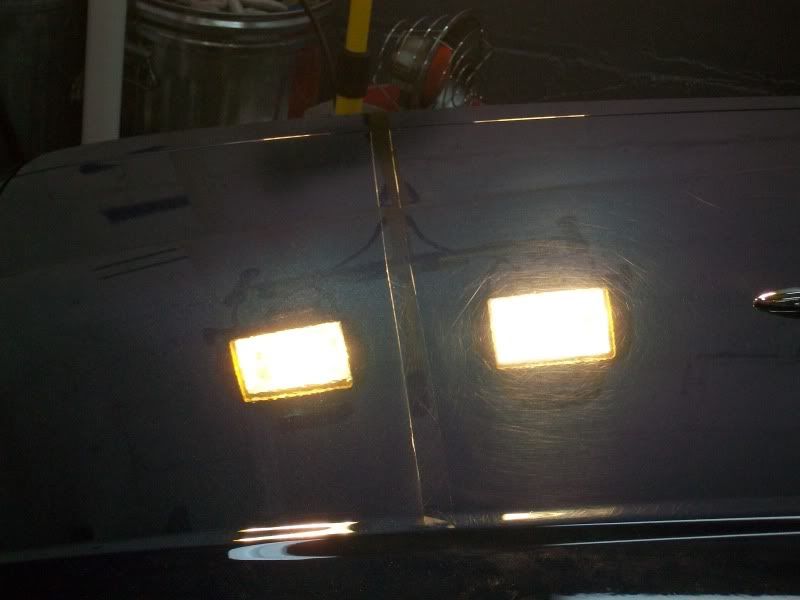
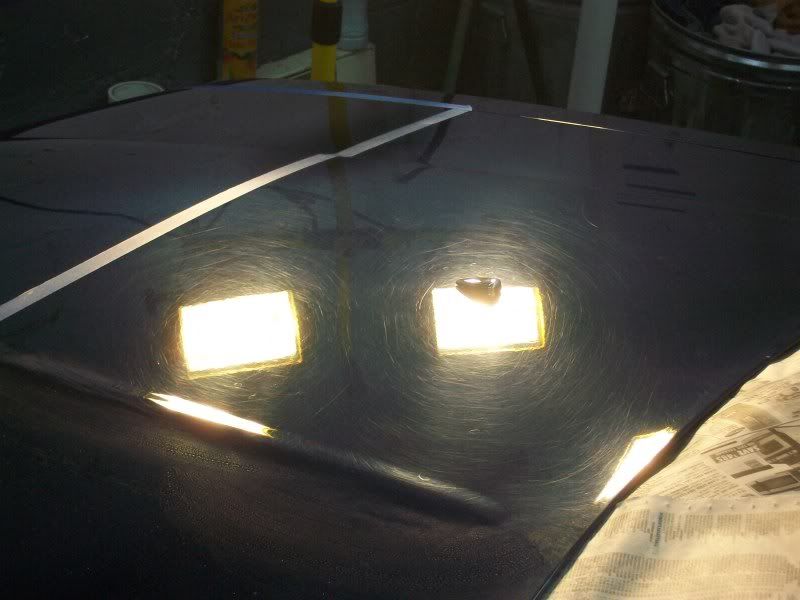
shots taken of the passenger front door below the molding.
from about 3 feet away.

just like a fugly looking girl that looks good from far but far from good.
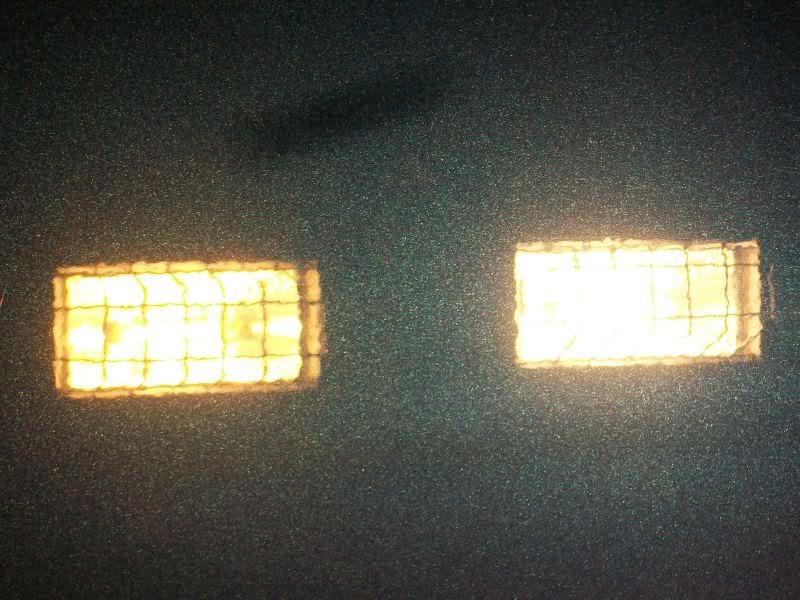
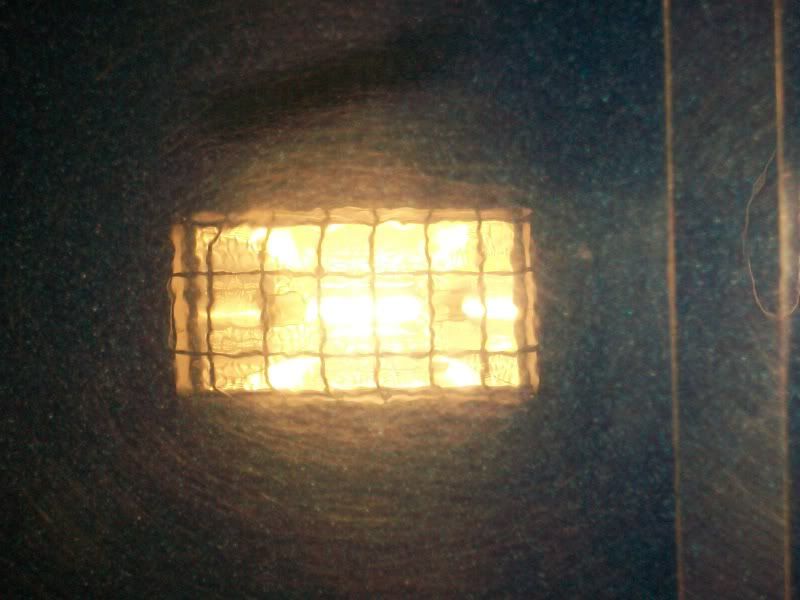
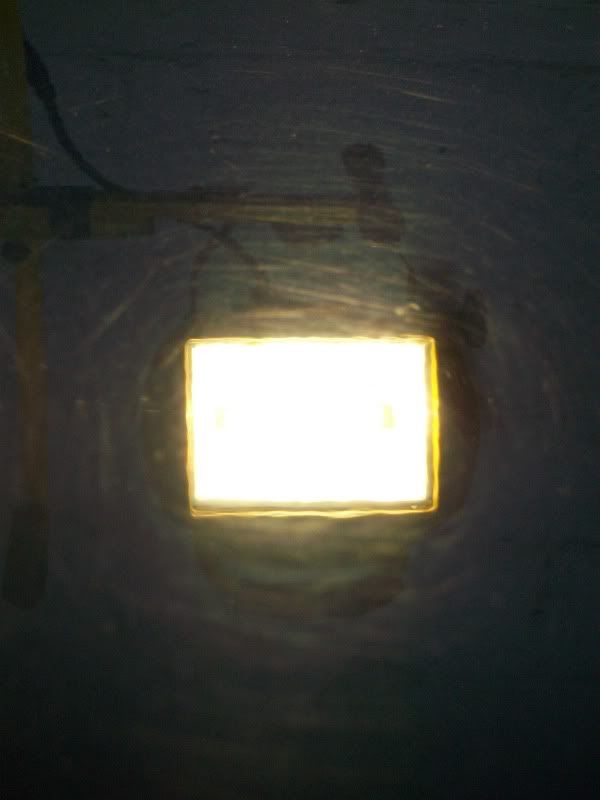
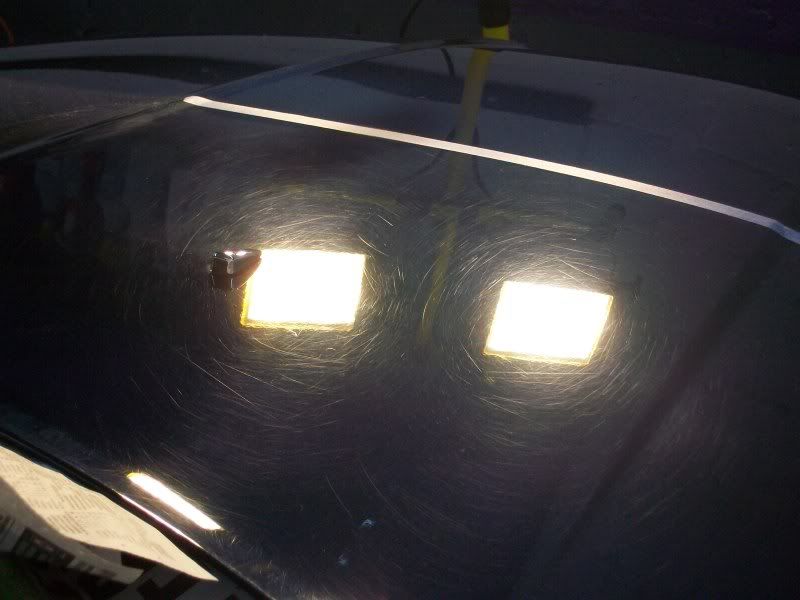
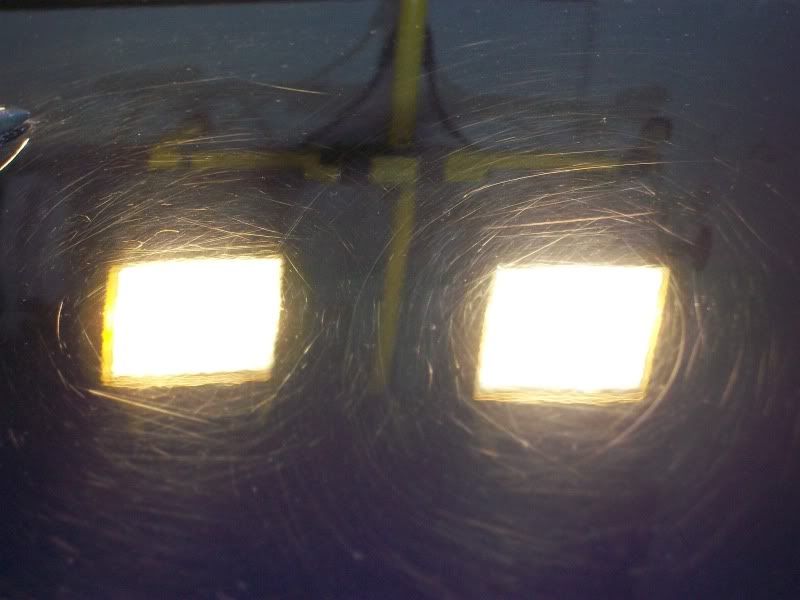
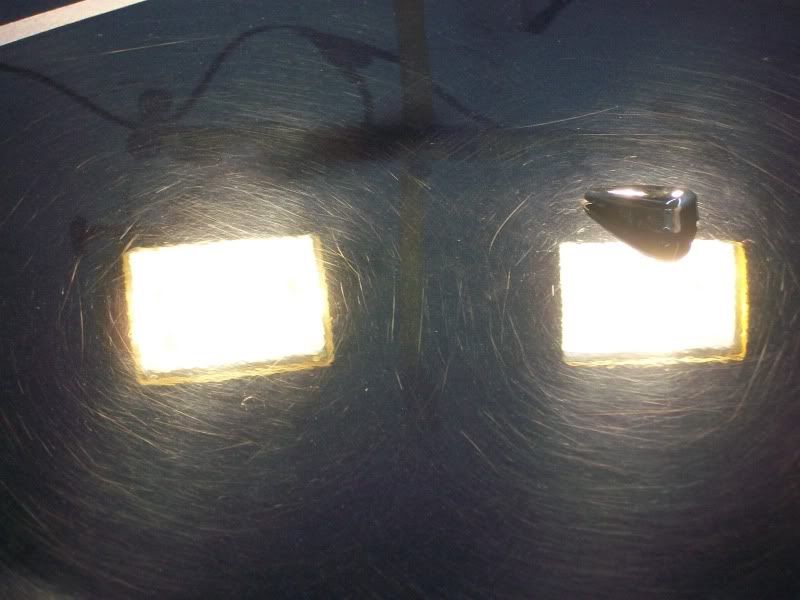
the closer you get to the car, the more your eyes bleed from the hacked up swirls & damaged clear coat.
every single inch of this car is covered with deep swirls that give the paint a dull, hazy reflection!
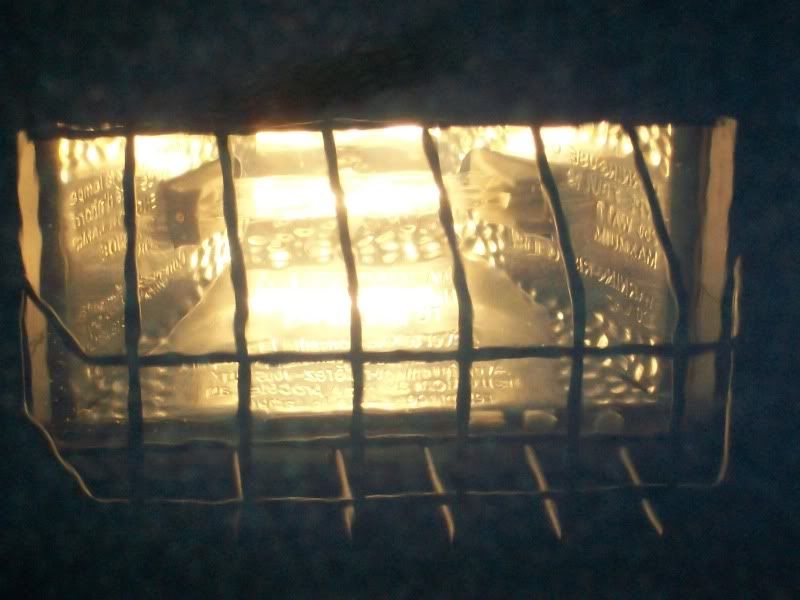
take a look at that dam door molding. yikes!
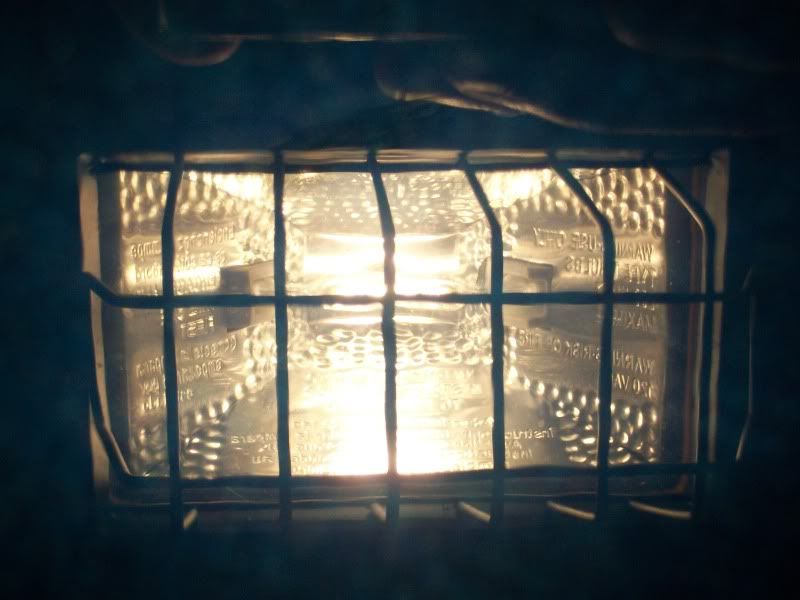
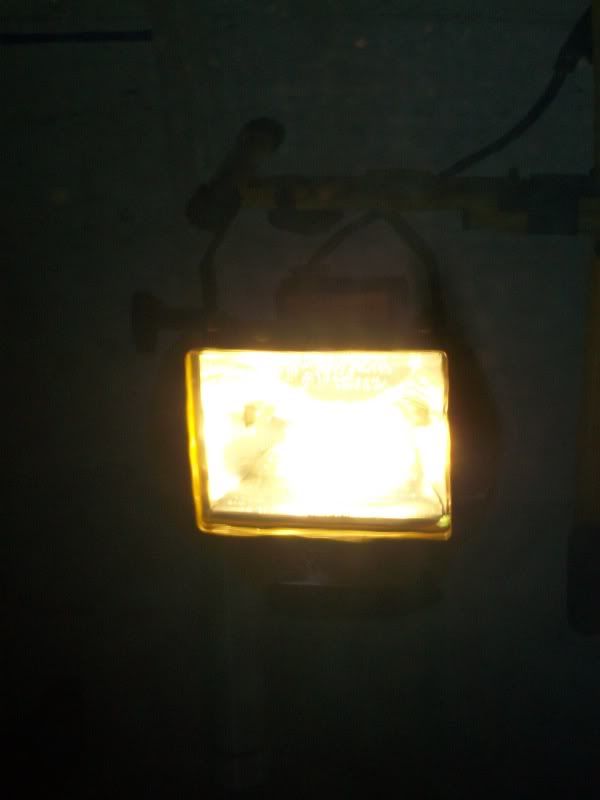
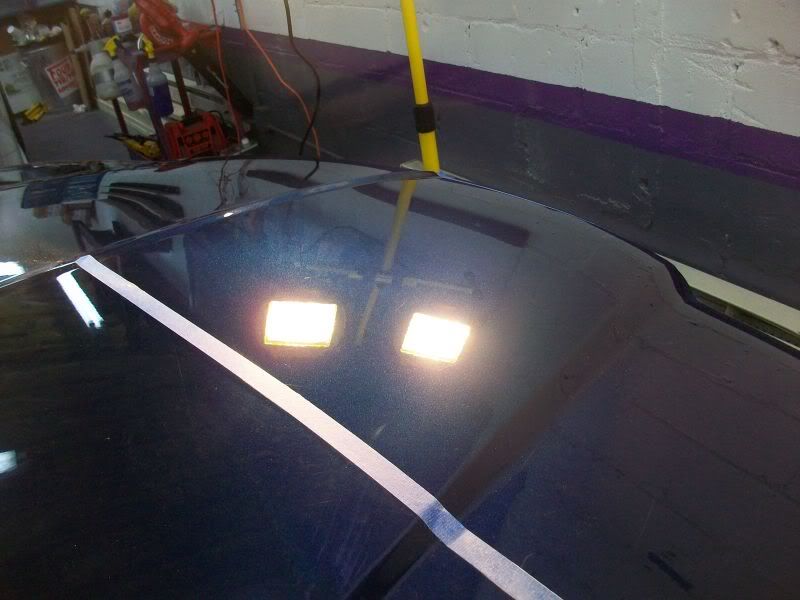
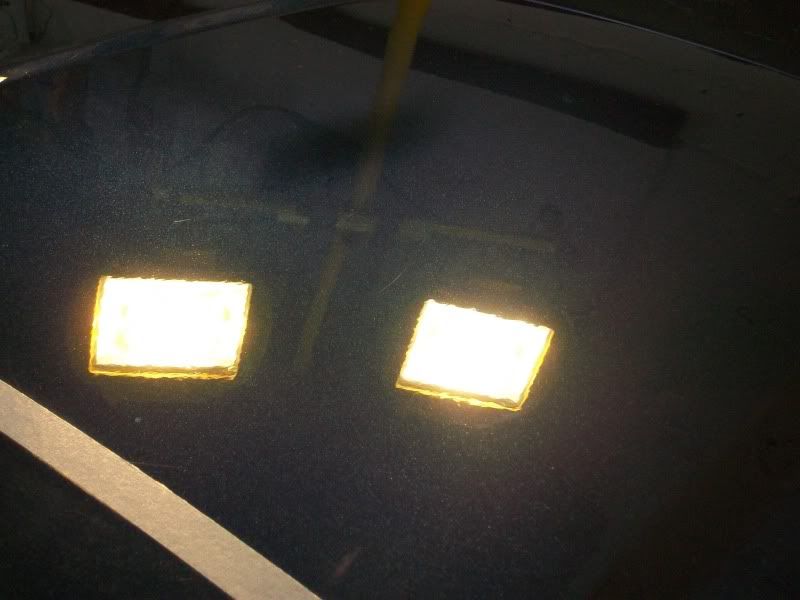
after compound & polish.
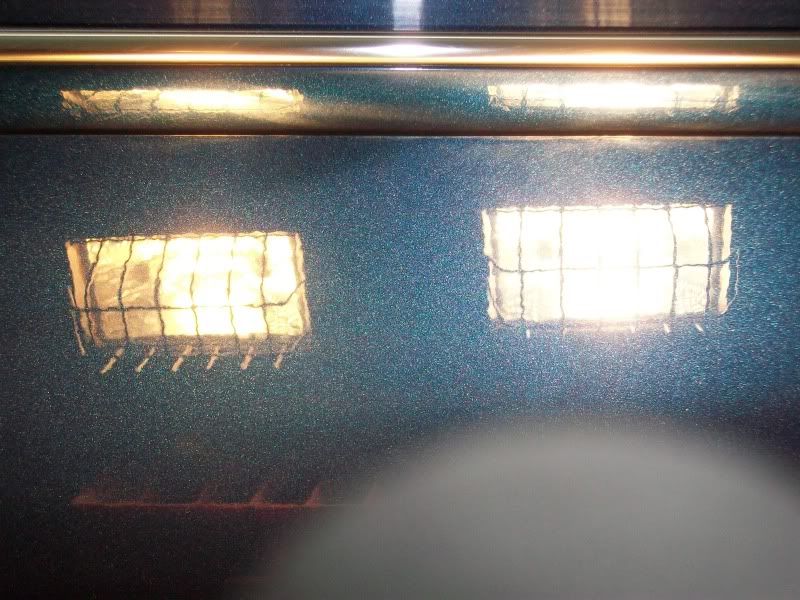
its hard to believe the clarity & reflection of the clear coat will be kicked up another notch.
i still need to wash off all the compound dust then blow dry it out, polish the entire car & apply a coat of wax to the surface.
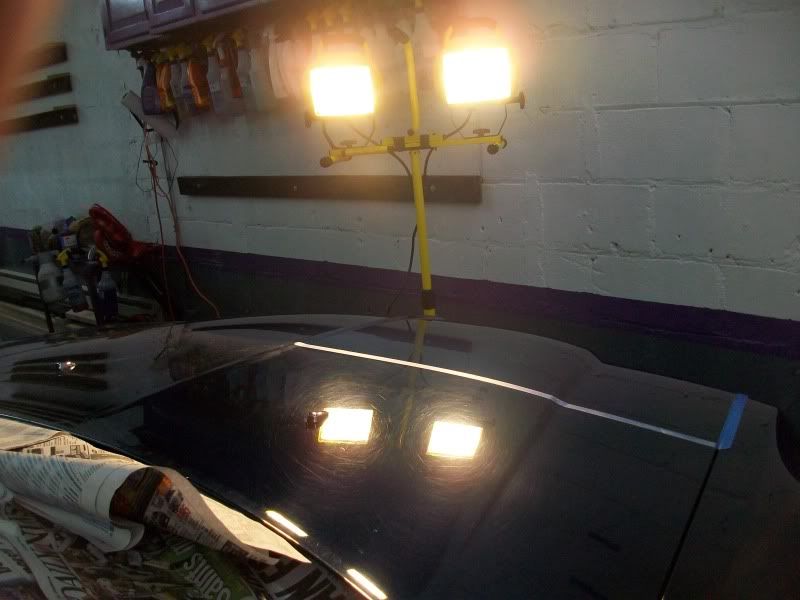
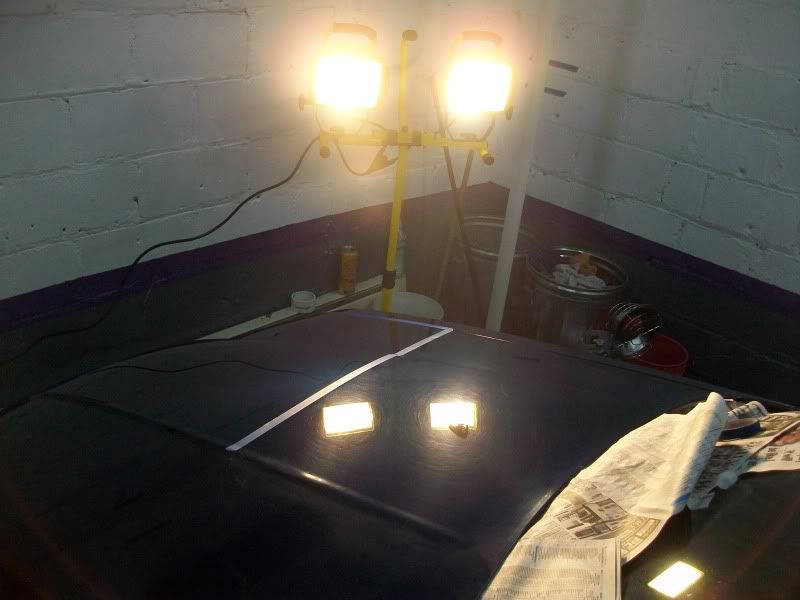
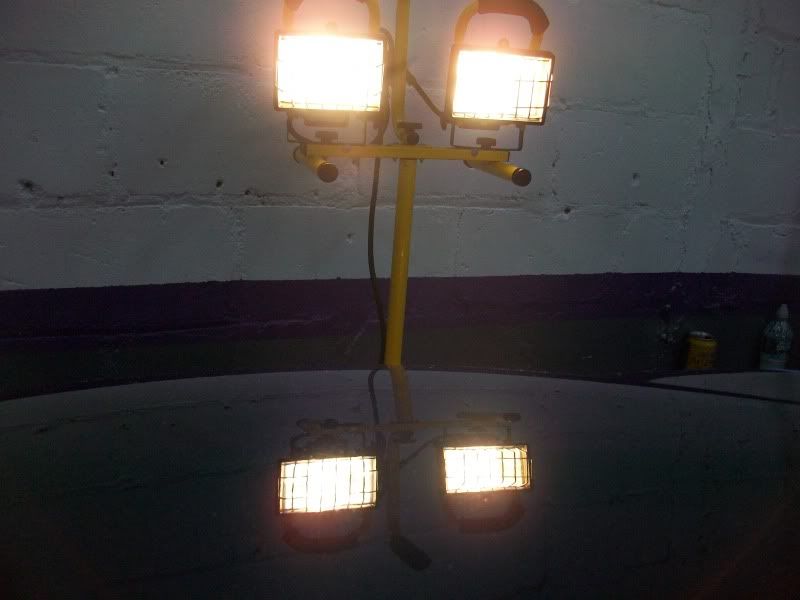
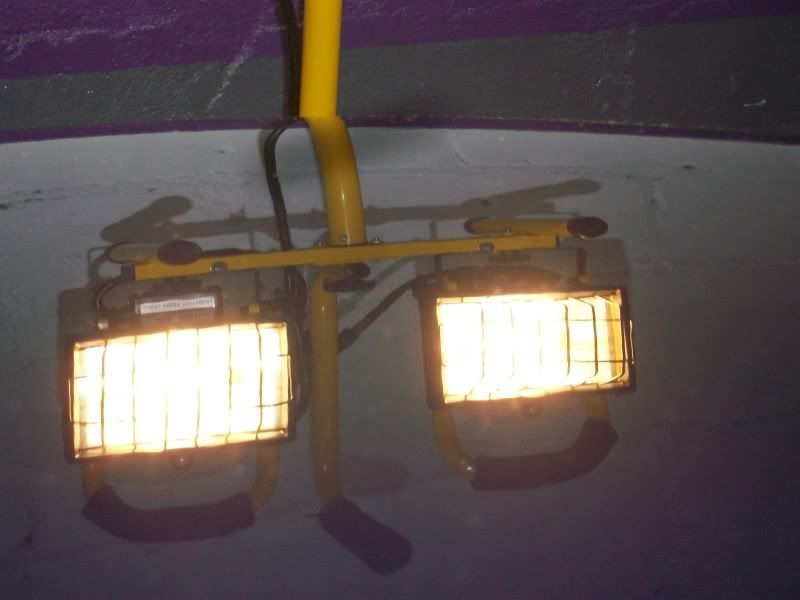
a final inspection for each panel will be done under the bright halogen lights.
once all the swirls are removed, i can start to finish up the car & get it ready for delivery!
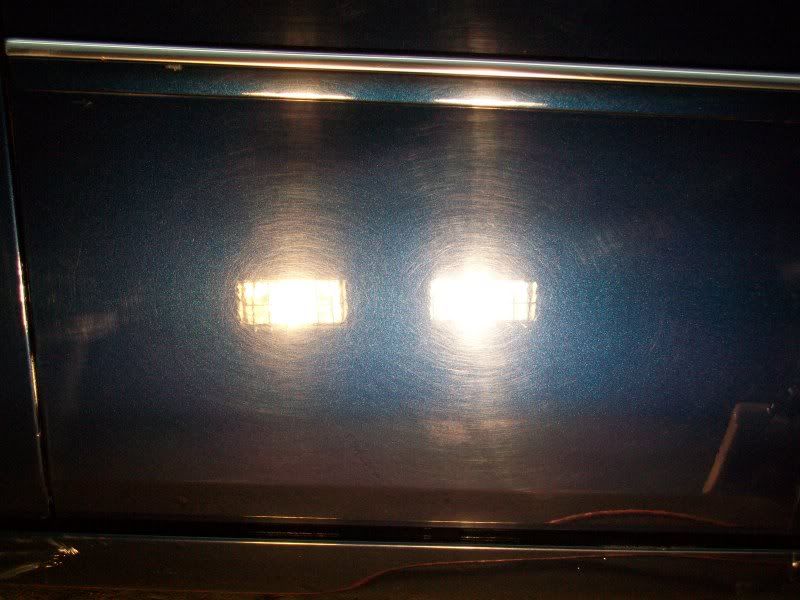
50/50 shots of the lower portion of the front passenger door.
left side is a before shot.
right side is after compound & polish.
left
right

right
heres another reminder of what that lower portion of the front passenger door looked like again before any compounding & polishing were done.
50/50 shots of the passenger side of the hood.
after compound & poilish.

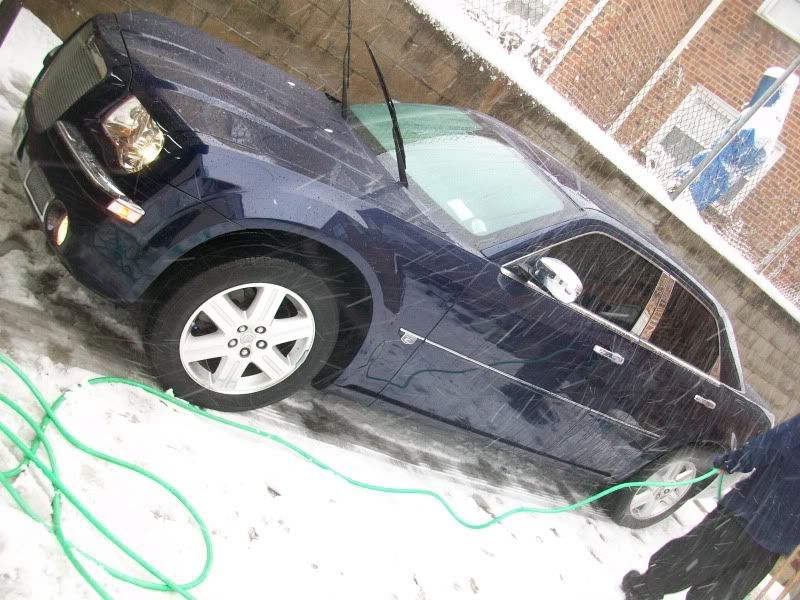
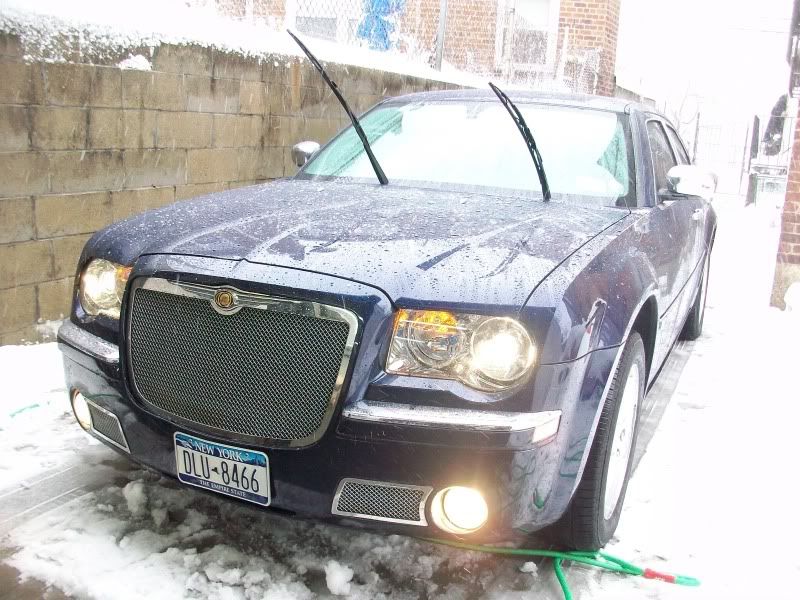
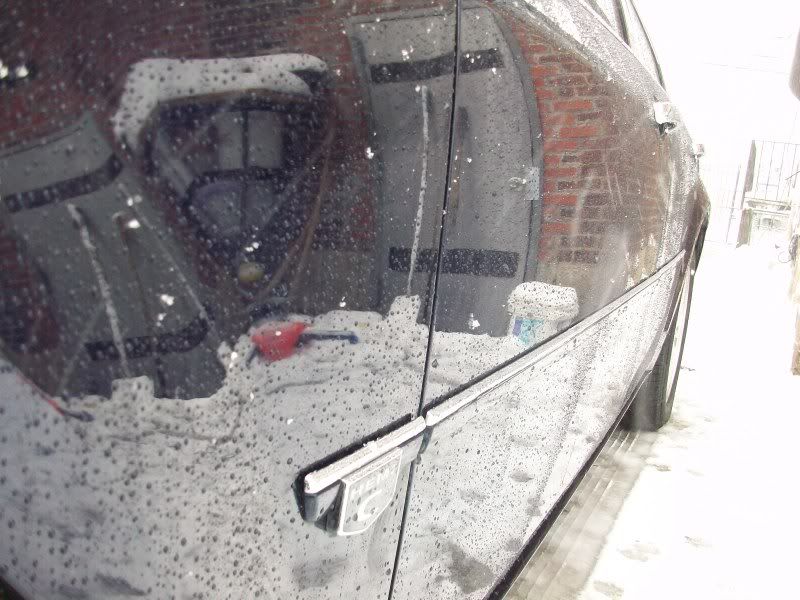
heres a few blizzard rinse pics taken the other day. we just hosed the car down to get rid of the compound dust, we didn't soap it up,
the car was brought back inside for an ONR wipe down then dried with the leaf blower & an Absorber.
ill do some taping & prep the car for final polishing followed by a coat of
Collinite #476S Super Double Coat paste wax.
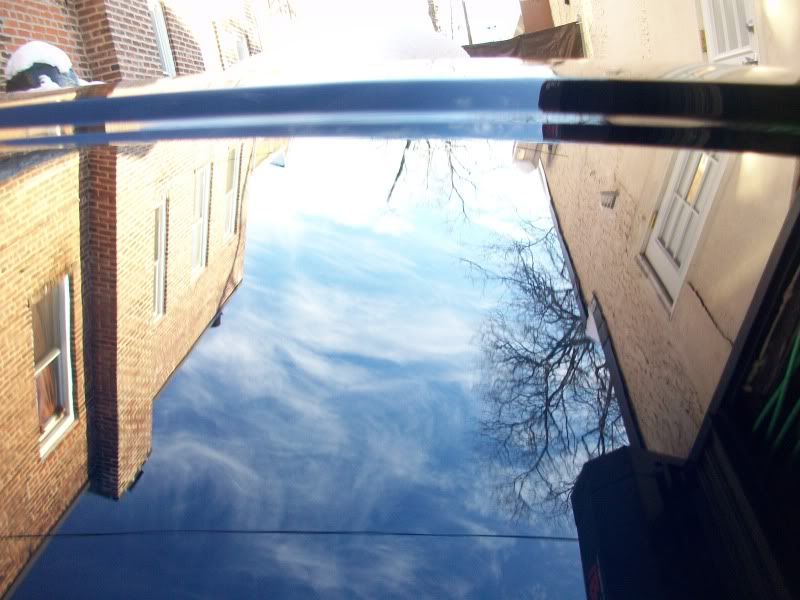
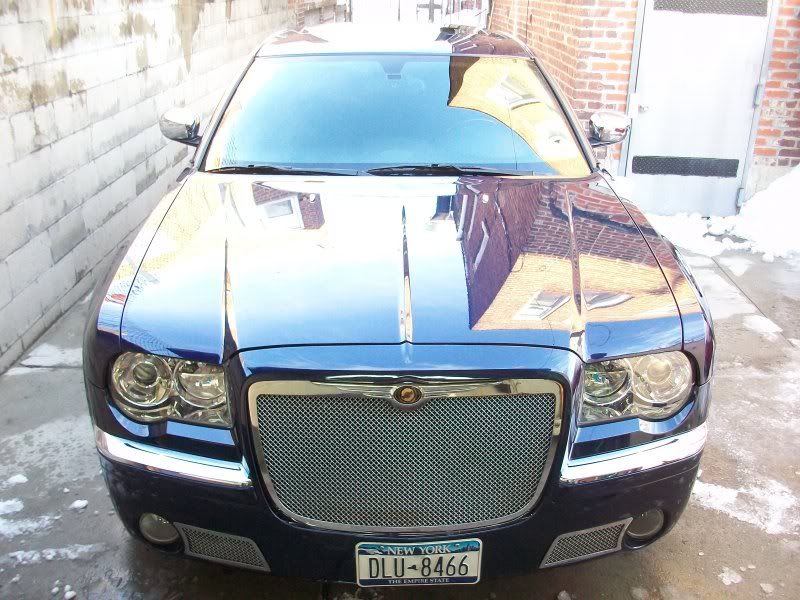
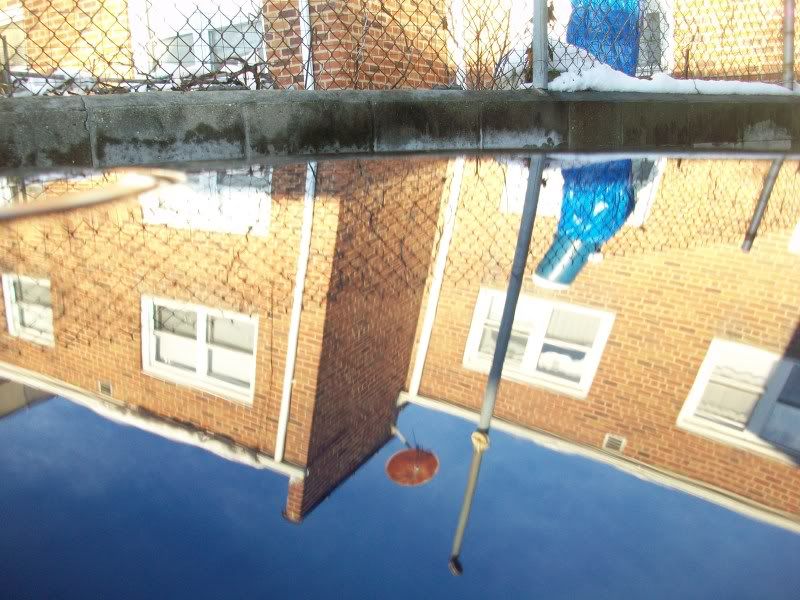
some final shots of the car just before the customer came to pick it up.
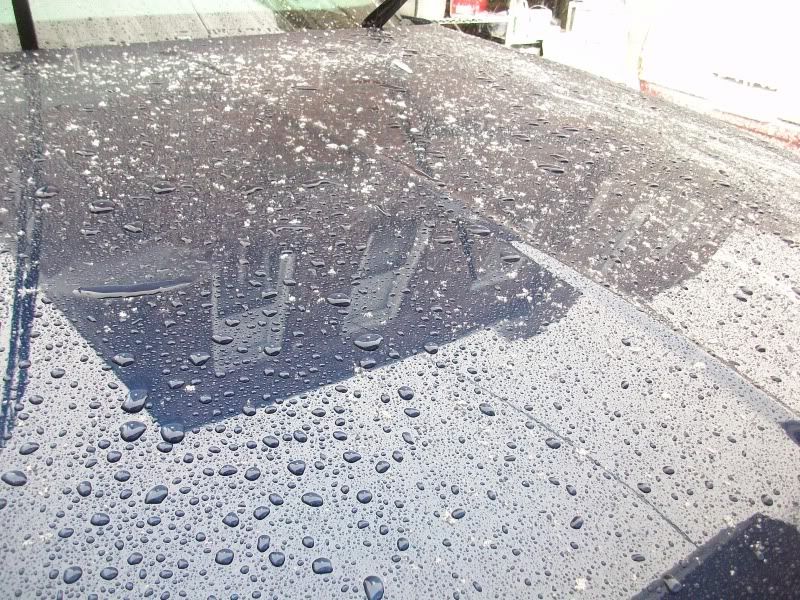
hood
roof
trunk
look what i found in the trunk! i was pissed!
i called the customer & told him to throw this out in the garbage!
products used:
Meguiars Mirror Glaze 105 Ultra-Cut Compound (M105)
6.5" & 4.0" yellow pads
Meguiars Mirror Glaze 205 Ultra Finishing Polish (M205)
6.5" & 4.0" blue pads
3M Perfect-It Ultarfine Machine Polish (3M UFMP)
6.5" & 4.0" blue pads
machine used:
Flex L 3403 mini rotary
protection:
Collinite 476S Super Double Coat Paste Wax
this was my first time trying out the Meguiars compound & polish. i was a stubborn mess & close minded when it came to trying out these new products. ive been using 3M compound & polish till i came across a tough black Audi S4 last week. the car was so bad the 3M compound just wasn't cutting the clear deep enough so i gave my friend phill a call & finally the Meguiars was ordered!
my only complaint with the Meguiars is the compound dries up hard like a rock. you shouldnt compound the car then leave it over night without cleaning up the splatter before going home! it seems to dust the same amount as the 3M compounds but it cuts deeeper & faster. if your good enough with the rotary wheel you can actually finish the M105 to a swirl free finish & then go straight to applying wax. the slower & longer i worked the product into the panel the better the reflection was in the clear coat. when i tried to pick up the pace of the compounding stage i was leaving light buffer trails & swirls behind. those trails & swirls are easily cleaned up with machine polishing but......working at a low rpm & with a slower pace made the polishing stage a lot easier. i didn't have any trails or swirls to remove with the polish. the polish kicked it up a notch & really glassed out the finish.
during compounding i never set the rotary any higher than 1000 rpms, i also polish at 1000 rpms.
it does take some time getting used to new products. after polishing half the hood, fender & drivers door with M205 i switched back to the 3M UFMP. i found the M205 a little difficult to work with. for me it seemed to create more dust than the 3M UFMP. i noticed when i would mist my pad with some water, it seemed to give the M205 a shorter work time before it dried up on the panel i was working on. 3M UFMP has a longer work time, creates less dust & makes less splatter.
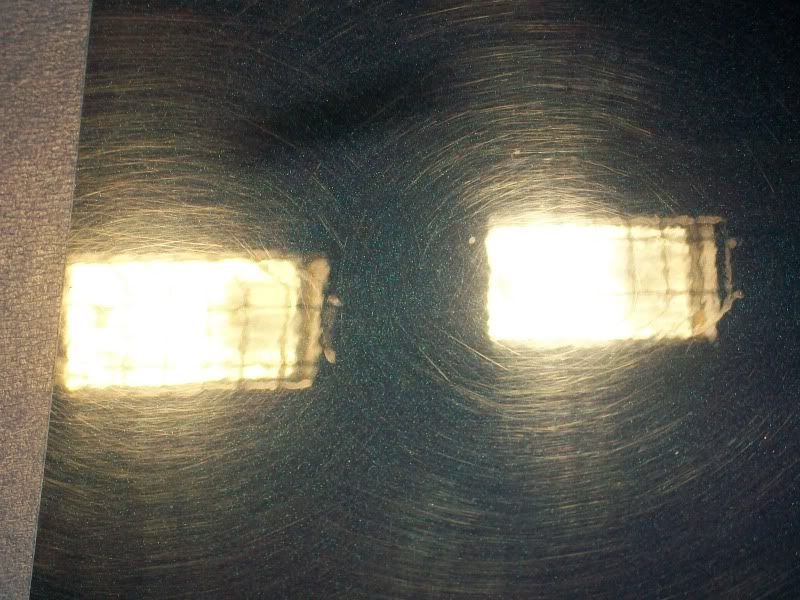
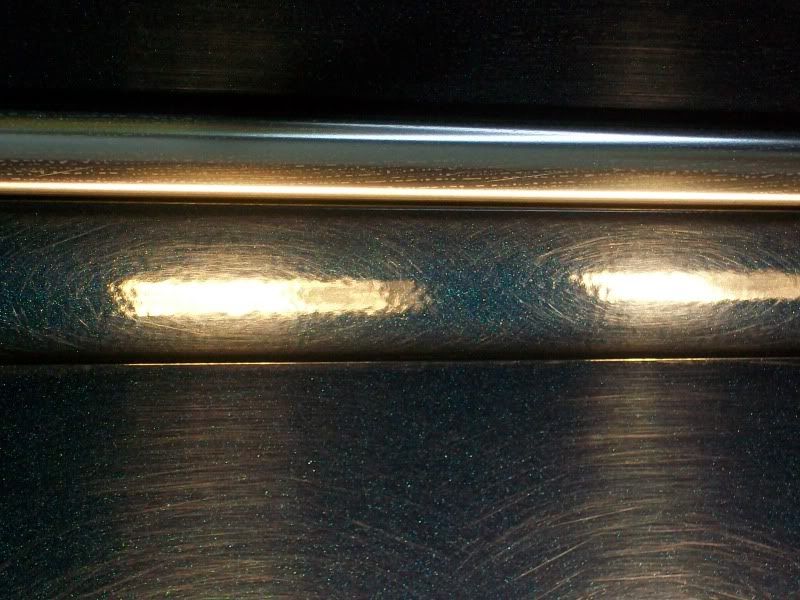
shots taken of the passenger front door below the molding.
from about 3 feet away.
just like a fugly looking girl that looks good from far but far from good.
the closer you get to the car, the more your eyes bleed from the hacked up swirls & damaged clear coat.
every single inch of this car is covered with deep swirls that give the paint a dull, hazy reflection!
take a look at that dam door molding. yikes!
after compound & polish.
its hard to believe the clarity & reflection of the clear coat will be kicked up another notch.
i still need to wash off all the compound dust then blow dry it out, polish the entire car & apply a coat of wax to the surface.
a final inspection for each panel will be done under the bright halogen lights.
once all the swirls are removed, i can start to finish up the car & get it ready for delivery!
50/50 shots of the lower portion of the front passenger door.
left side is a before shot.
right side is after compound & polish.
left
right
right
heres another reminder of what that lower portion of the front passenger door looked like again before any compounding & polishing were done.
50/50 shots of the passenger side of the hood.
after compound & poilish.
heres a few blizzard rinse pics taken the other day. we just hosed the car down to get rid of the compound dust, we didn't soap it up,
the car was brought back inside for an ONR wipe down then dried with the leaf blower & an Absorber.
ill do some taping & prep the car for final polishing followed by a coat of
Collinite #476S Super Double Coat paste wax.
some final shots of the car just before the customer came to pick it up.
hood
roof
trunk

