
I did this write-up a week-ish ago for another forum I'm a part of, and figured I'd post it here too in case anyone was interested in doing this...
"Ok so I spent some time today taking off all the interior dash pieces so I can paint them, and I wanted to do a write-up so anyone who wants to do this can have some steps instead of piecing together shit from around the web...
Tools: Ratchet with 7mm & 8mm sockets; flathead screwdriver.
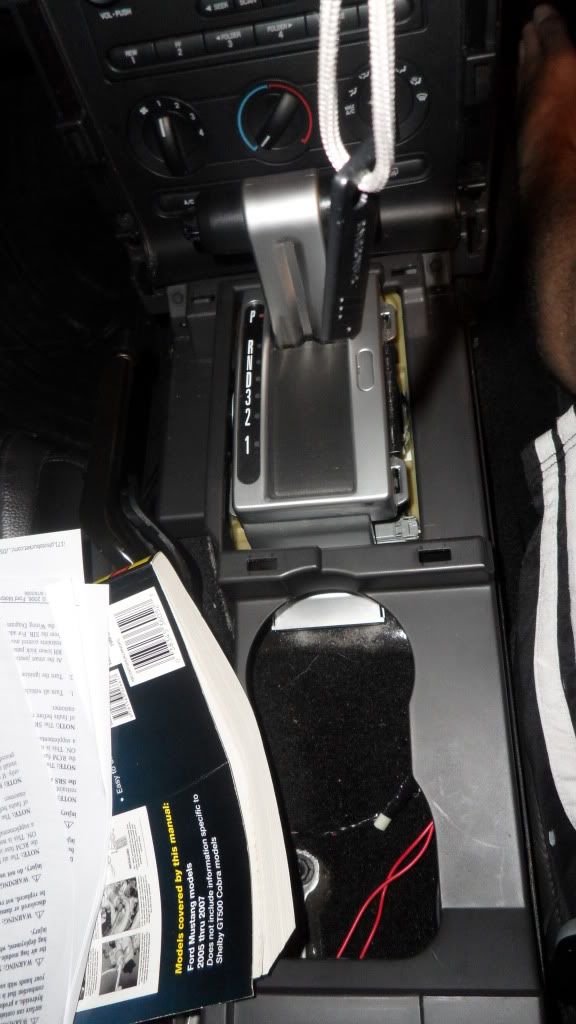
Step 1. Ok so the first thing to do is to take off the trim around the arm-rest/center console, mine had no bolts on the trim piece with the cupholders, so it lifted off, but there should be some bolts on a normal vehicle. The E-brake must be pulled all the way up for it to lift off.
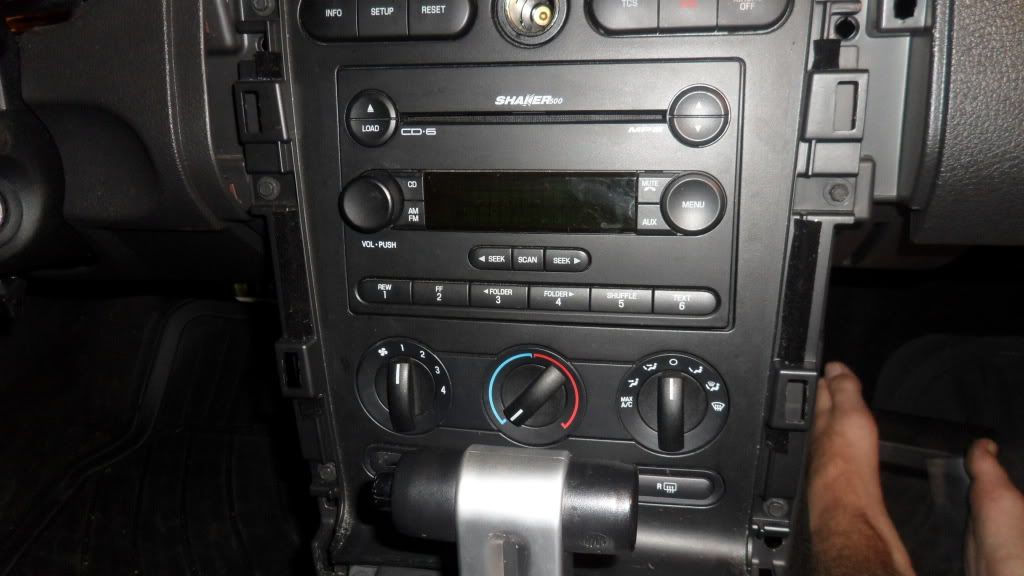
Step 2. Once thats off there are two pieces to the left and right of the radio cluster just pull off, though you might have to use a screwdriver to help a little. (ignore my hobbit feet )
)
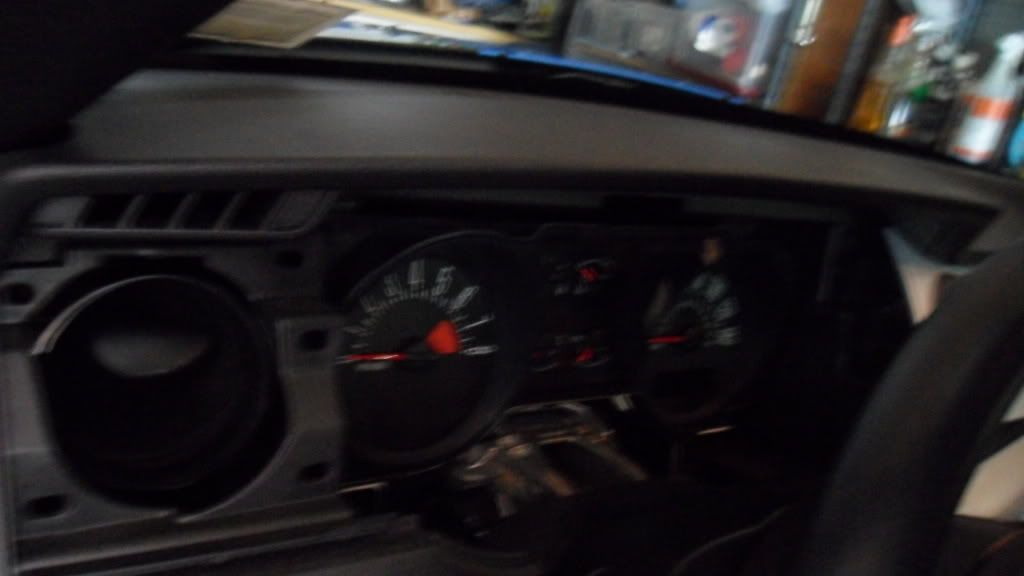
Step 3. The dash piece that is overlayed on top of the gauge cluster simply pulls of, just grab the left and right vents and pull firm and steady
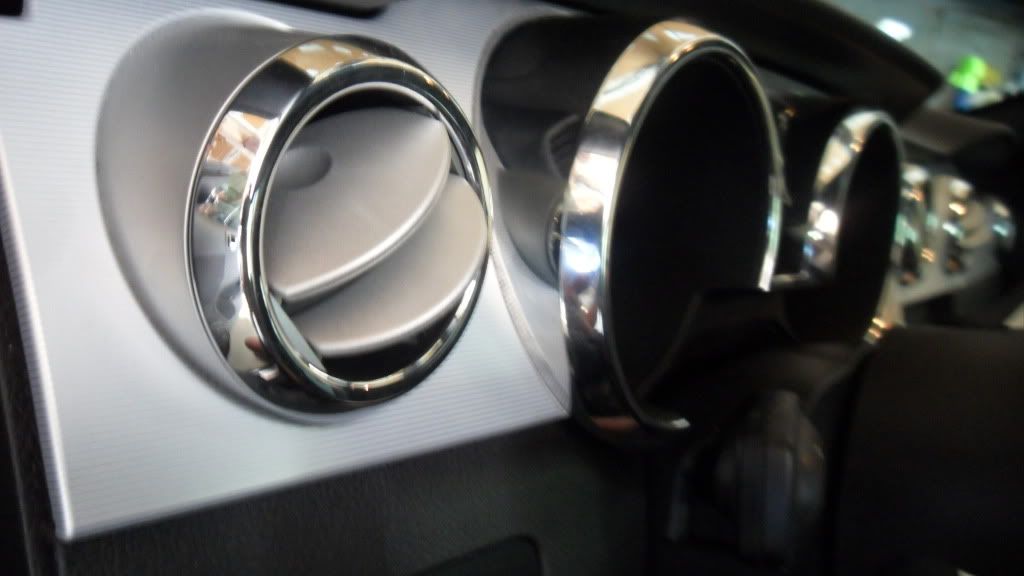
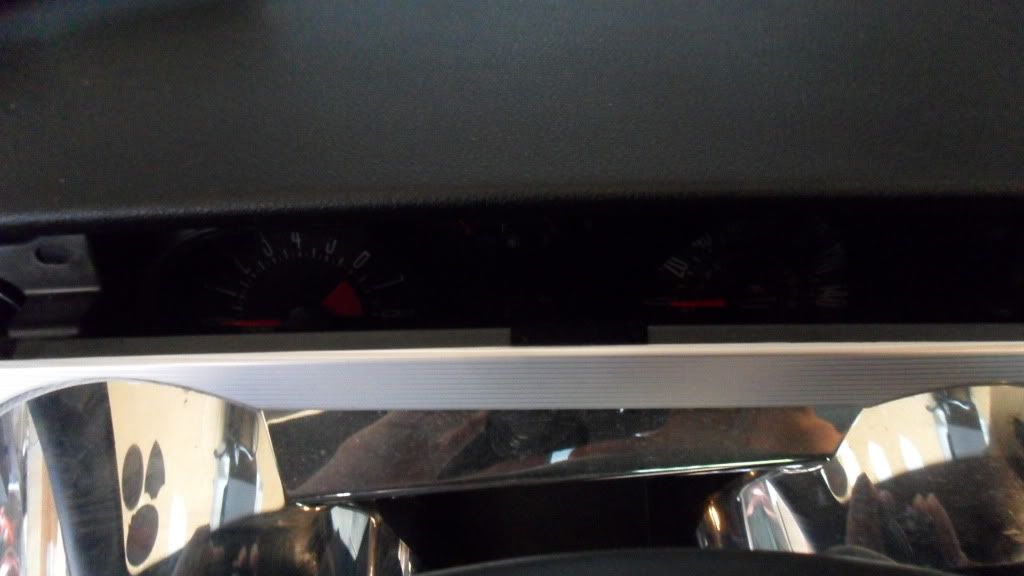
After it pulls off, behold...
Step 4. Ok, so this is where things start to seem difficult, but I promise, they're not. The next few steps will require depowering the Supplemental Restraint System, and removing the passenger side airbag, which will require the removal of the fuse, and some other goodies.
Located on the floor of the passenger side is the Smart Junction Box (SJB). Remove the two panels to get to the fuses and remove fuse 17
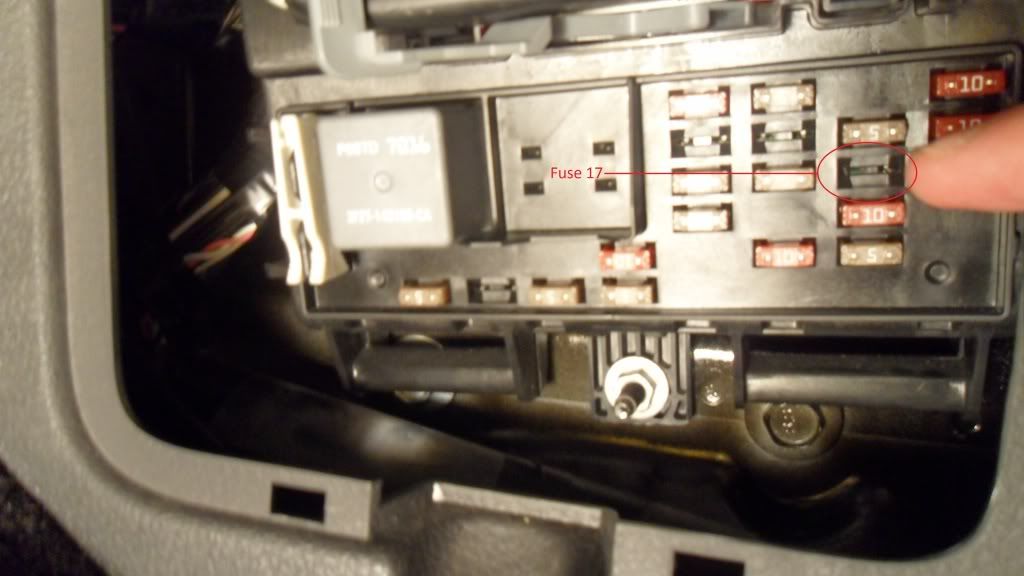
After removing the fuse, turn the key into the on position and make sure that the airbag indicator light stays on for 30 seconds...that means the correct fuse is out.
Step 5. Next is to unplug the Negative terminal of the battery, I don't think anyone on here needs a picture or measurements to do that...
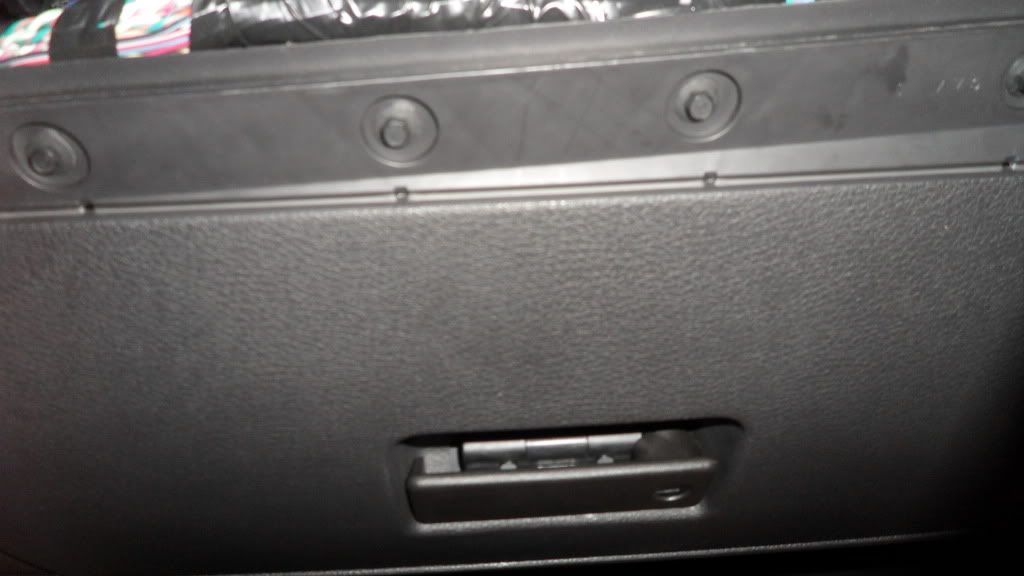
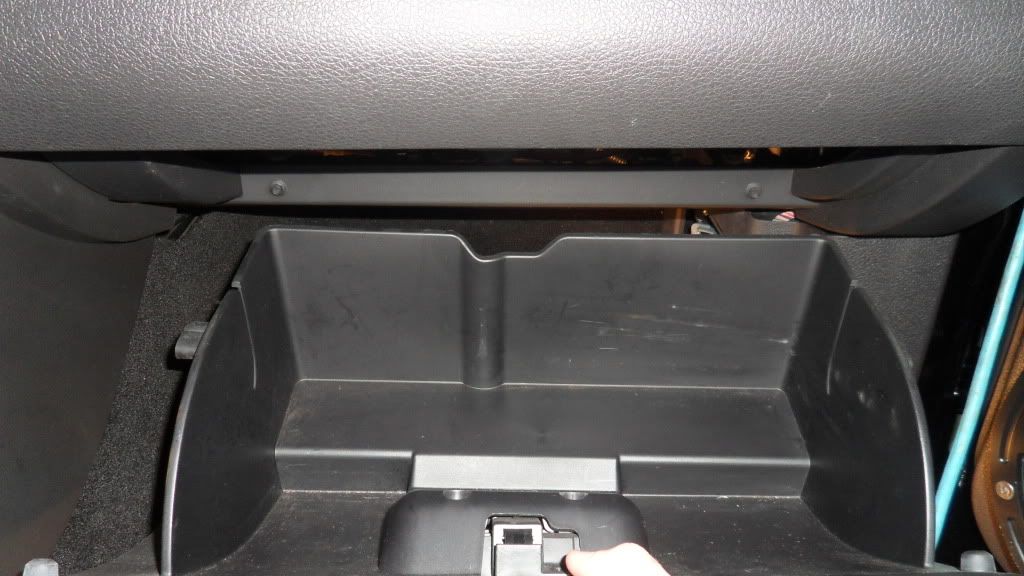
Step 6. Next is removing the glovebox to give you access to the airbag...There are four bolts on the underside of the glovebox, mine came off with a 7mm socket. The picture isn't the best, couldn't really nail the angle, but its easy to figure out.
Glovebox just kinda wiggles out, you may have to push the sides in to get it to fully drop...
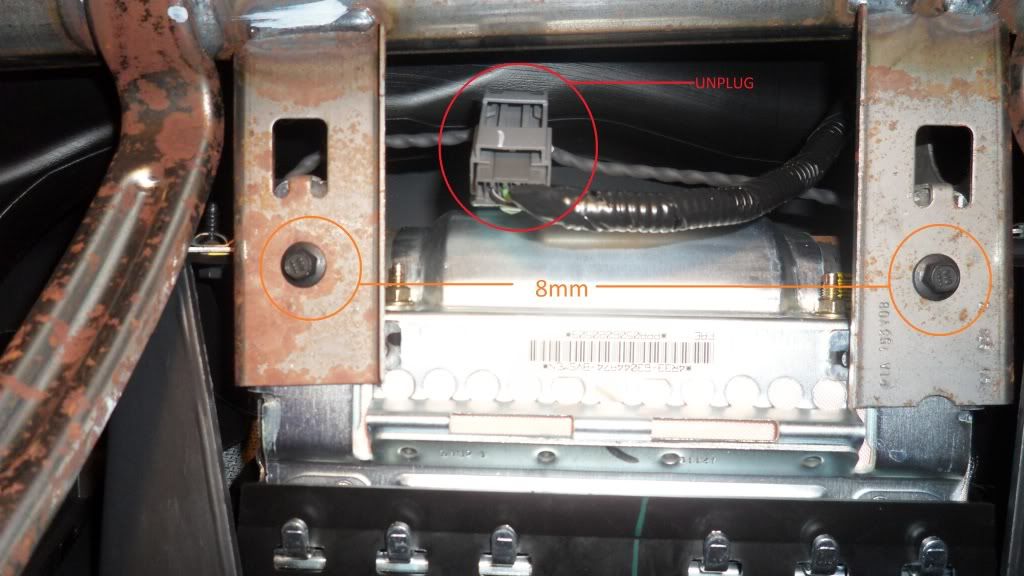
Step 7. There is a plug that goes into the rear of the airbag, which will need to be unplugged. Also, the two bolts in the picture must come off as well, I used 8mm socket.
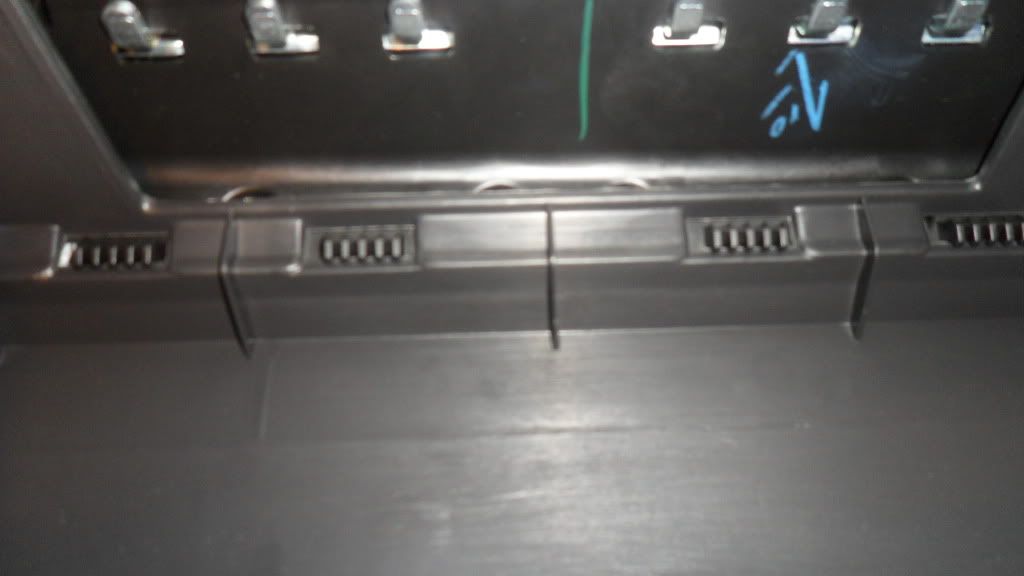
Step 8. Once you're under there, you'll see that the airbag is hooked onto the dash trim, so the whole thing comes out as one. The clips that hold the dash trim onto it, (pictured below) are easily pushed out with either your finger or a screwdriver...
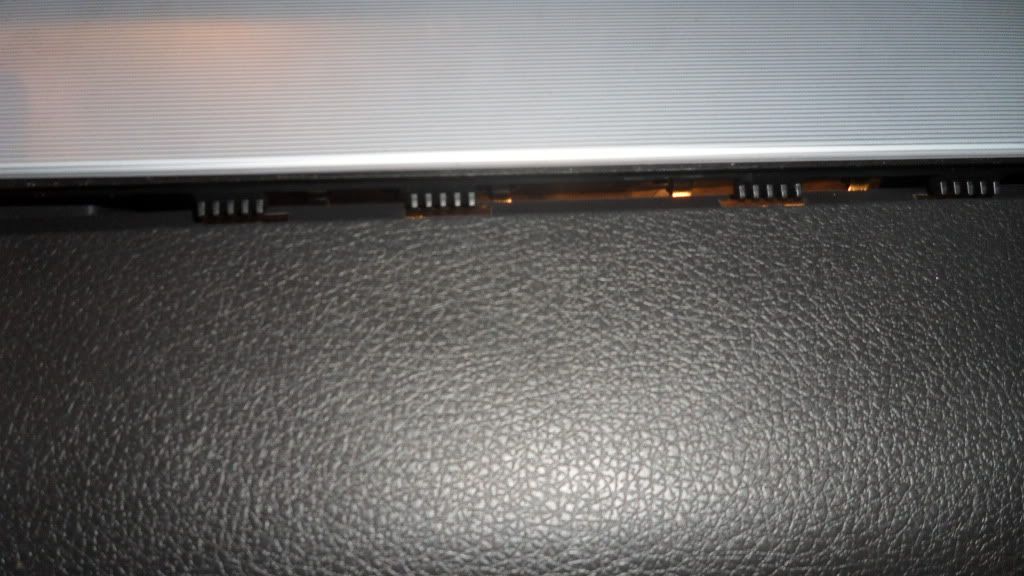
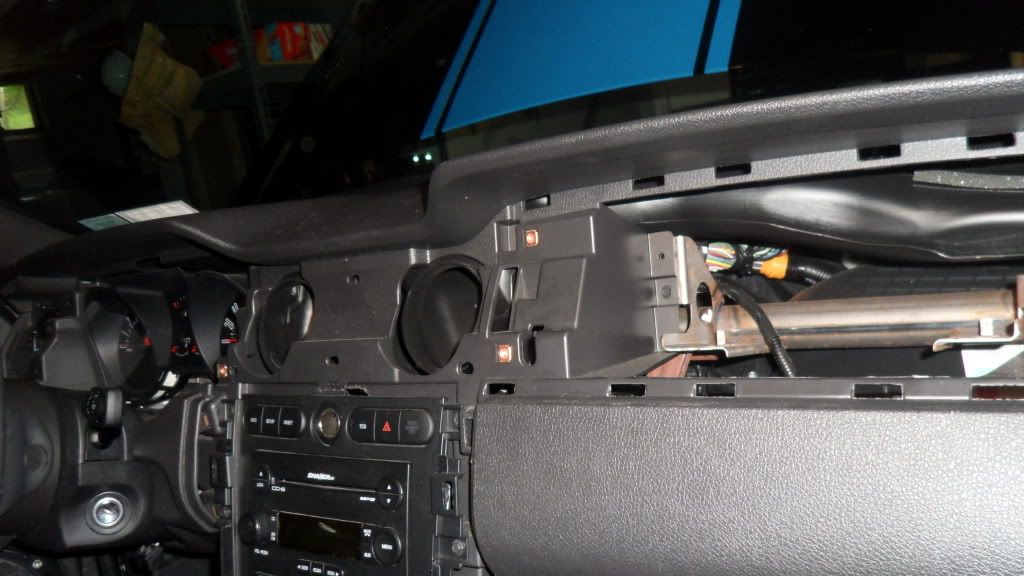
This is the view from the outside once the whole unit starts to come out...
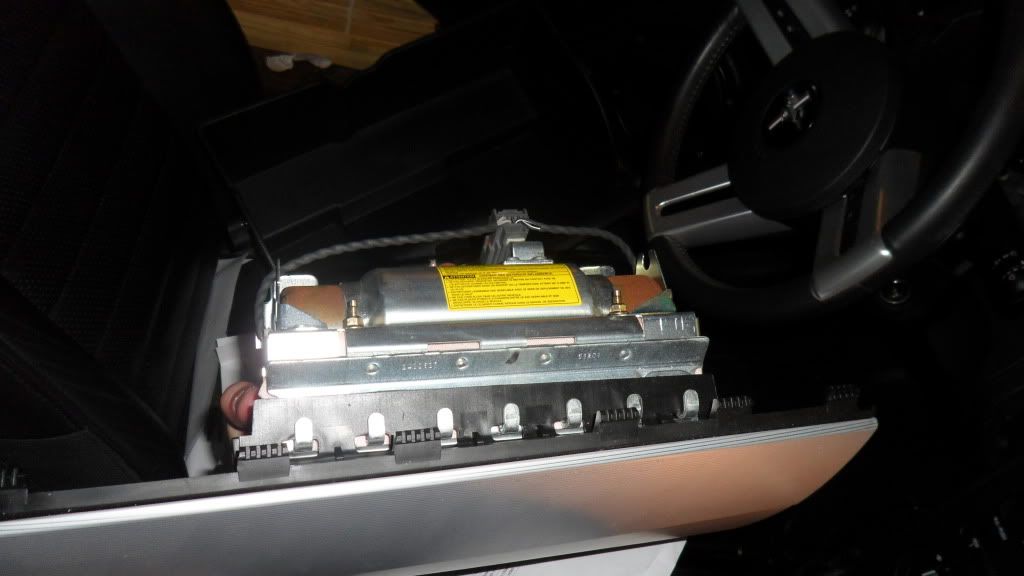
The whole thing takes some wiggling to get out, but pull the bottom, then the top, then the bottom, etc, and this is what you will have come out...
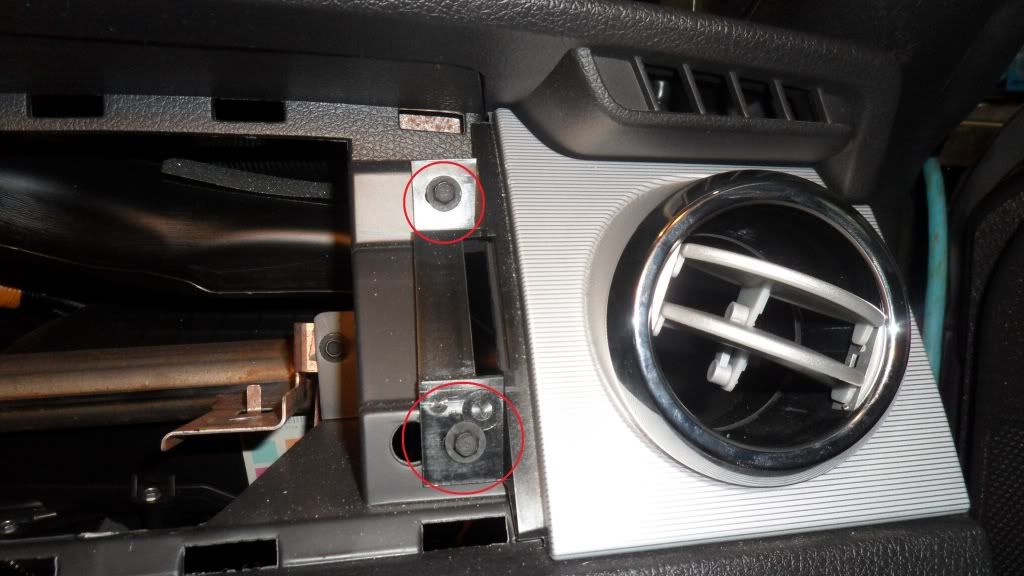
Step 9. Now that the airbag is out, the rest is easy as hell. While on the passengers side, the rightmost vent is held on by these two bolts, for which I used a 7mm socket, after which the vent comes right off.
Step 10. Lastly, the center dash piece. Four bolts hold down this sucker, all the same 7mm as the passenger vent.
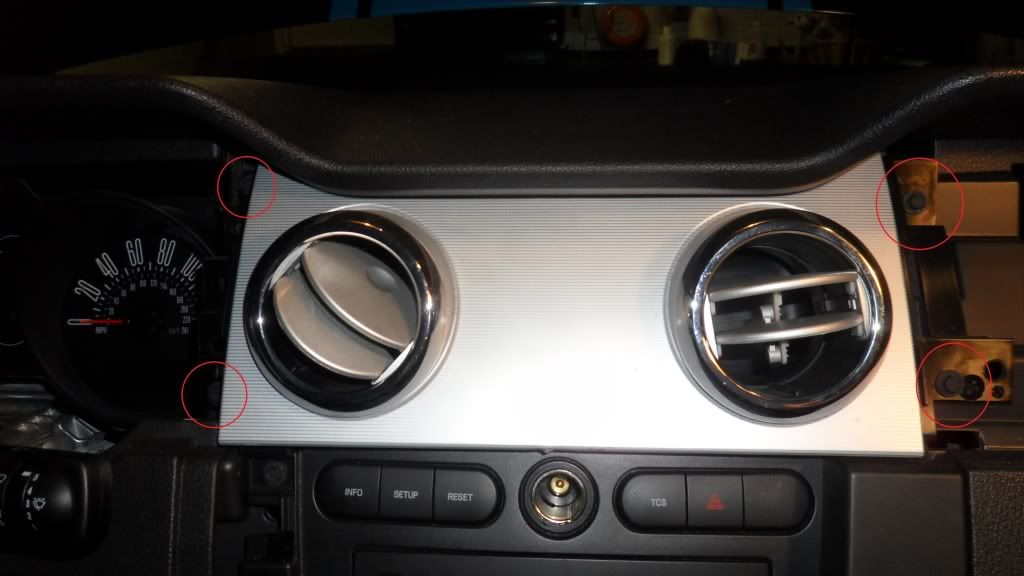
Once those are off, same thing as the others, work it out.
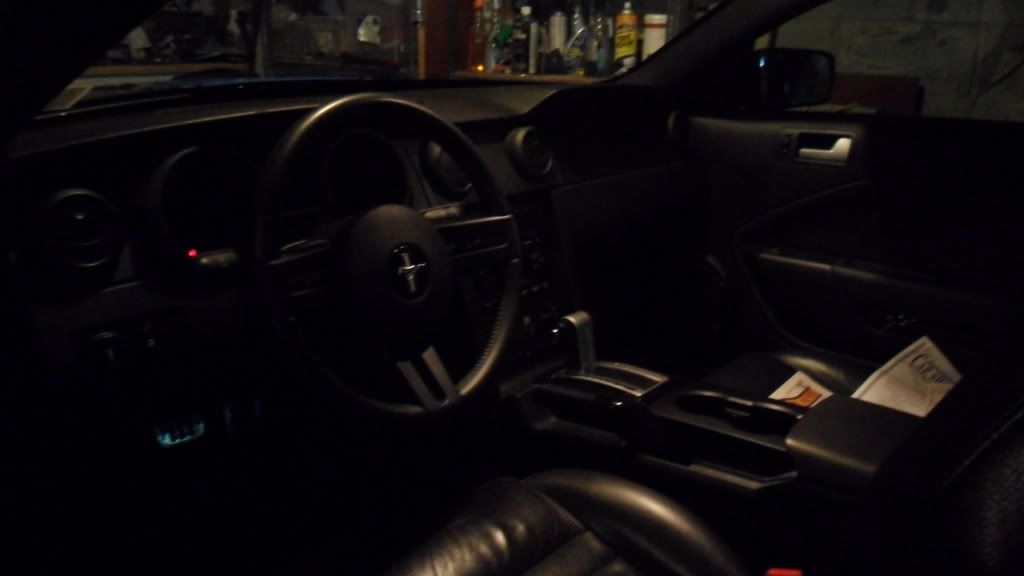
End result:
AFTER:
"Ok so I spent some time today taking off all the interior dash pieces so I can paint them, and I wanted to do a write-up so anyone who wants to do this can have some steps instead of piecing together shit from around the web...
Tools: Ratchet with 7mm & 8mm sockets; flathead screwdriver.
Step 1. Ok so the first thing to do is to take off the trim around the arm-rest/center console, mine had no bolts on the trim piece with the cupholders, so it lifted off, but there should be some bolts on a normal vehicle. The E-brake must be pulled all the way up for it to lift off.
Step 2. Once thats off there are two pieces to the left and right of the radio cluster just pull off, though you might have to use a screwdriver to help a little. (ignore my hobbit feet
)
Step 3. The dash piece that is overlayed on top of the gauge cluster simply pulls of, just grab the left and right vents and pull firm and steady
After it pulls off, behold...
Step 4. Ok, so this is where things start to seem difficult, but I promise, they're not. The next few steps will require depowering the Supplemental Restraint System, and removing the passenger side airbag, which will require the removal of the fuse, and some other goodies.
Located on the floor of the passenger side is the Smart Junction Box (SJB). Remove the two panels to get to the fuses and remove fuse 17
After removing the fuse, turn the key into the on position and make sure that the airbag indicator light stays on for 30 seconds...that means the correct fuse is out.
Step 5. Next is to unplug the Negative terminal of the battery, I don't think anyone on here needs a picture or measurements to do that...
Step 6. Next is removing the glovebox to give you access to the airbag...There are four bolts on the underside of the glovebox, mine came off with a 7mm socket. The picture isn't the best, couldn't really nail the angle, but its easy to figure out.
Glovebox just kinda wiggles out, you may have to push the sides in to get it to fully drop...
Step 7. There is a plug that goes into the rear of the airbag, which will need to be unplugged. Also, the two bolts in the picture must come off as well, I used 8mm socket.
Step 8. Once you're under there, you'll see that the airbag is hooked onto the dash trim, so the whole thing comes out as one. The clips that hold the dash trim onto it, (pictured below) are easily pushed out with either your finger or a screwdriver...
This is the view from the outside once the whole unit starts to come out...
The whole thing takes some wiggling to get out, but pull the bottom, then the top, then the bottom, etc, and this is what you will have come out...
Step 9. Now that the airbag is out, the rest is easy as hell. While on the passengers side, the rightmost vent is held on by these two bolts, for which I used a 7mm socket, after which the vent comes right off.
Step 10. Lastly, the center dash piece. Four bolts hold down this sucker, all the same 7mm as the passenger vent.
Once those are off, same thing as the others, work it out.
End result:
AFTER:
Last edited: